Tag Archives: beer

Back to Extract Brewing

It’s been a long time since we did our first all-grain batch of homebrew — and never looked back. But we recently moved to New Jersey and bought a very well-preserved mid-century house, which among its many quirks is the fact that all of the kitchen appliances are just a little bit smaller than is standard today. In particular, the clearance over the stovetop is about 20 inches, much too low to have a 18+ inch kettle boiling on it.
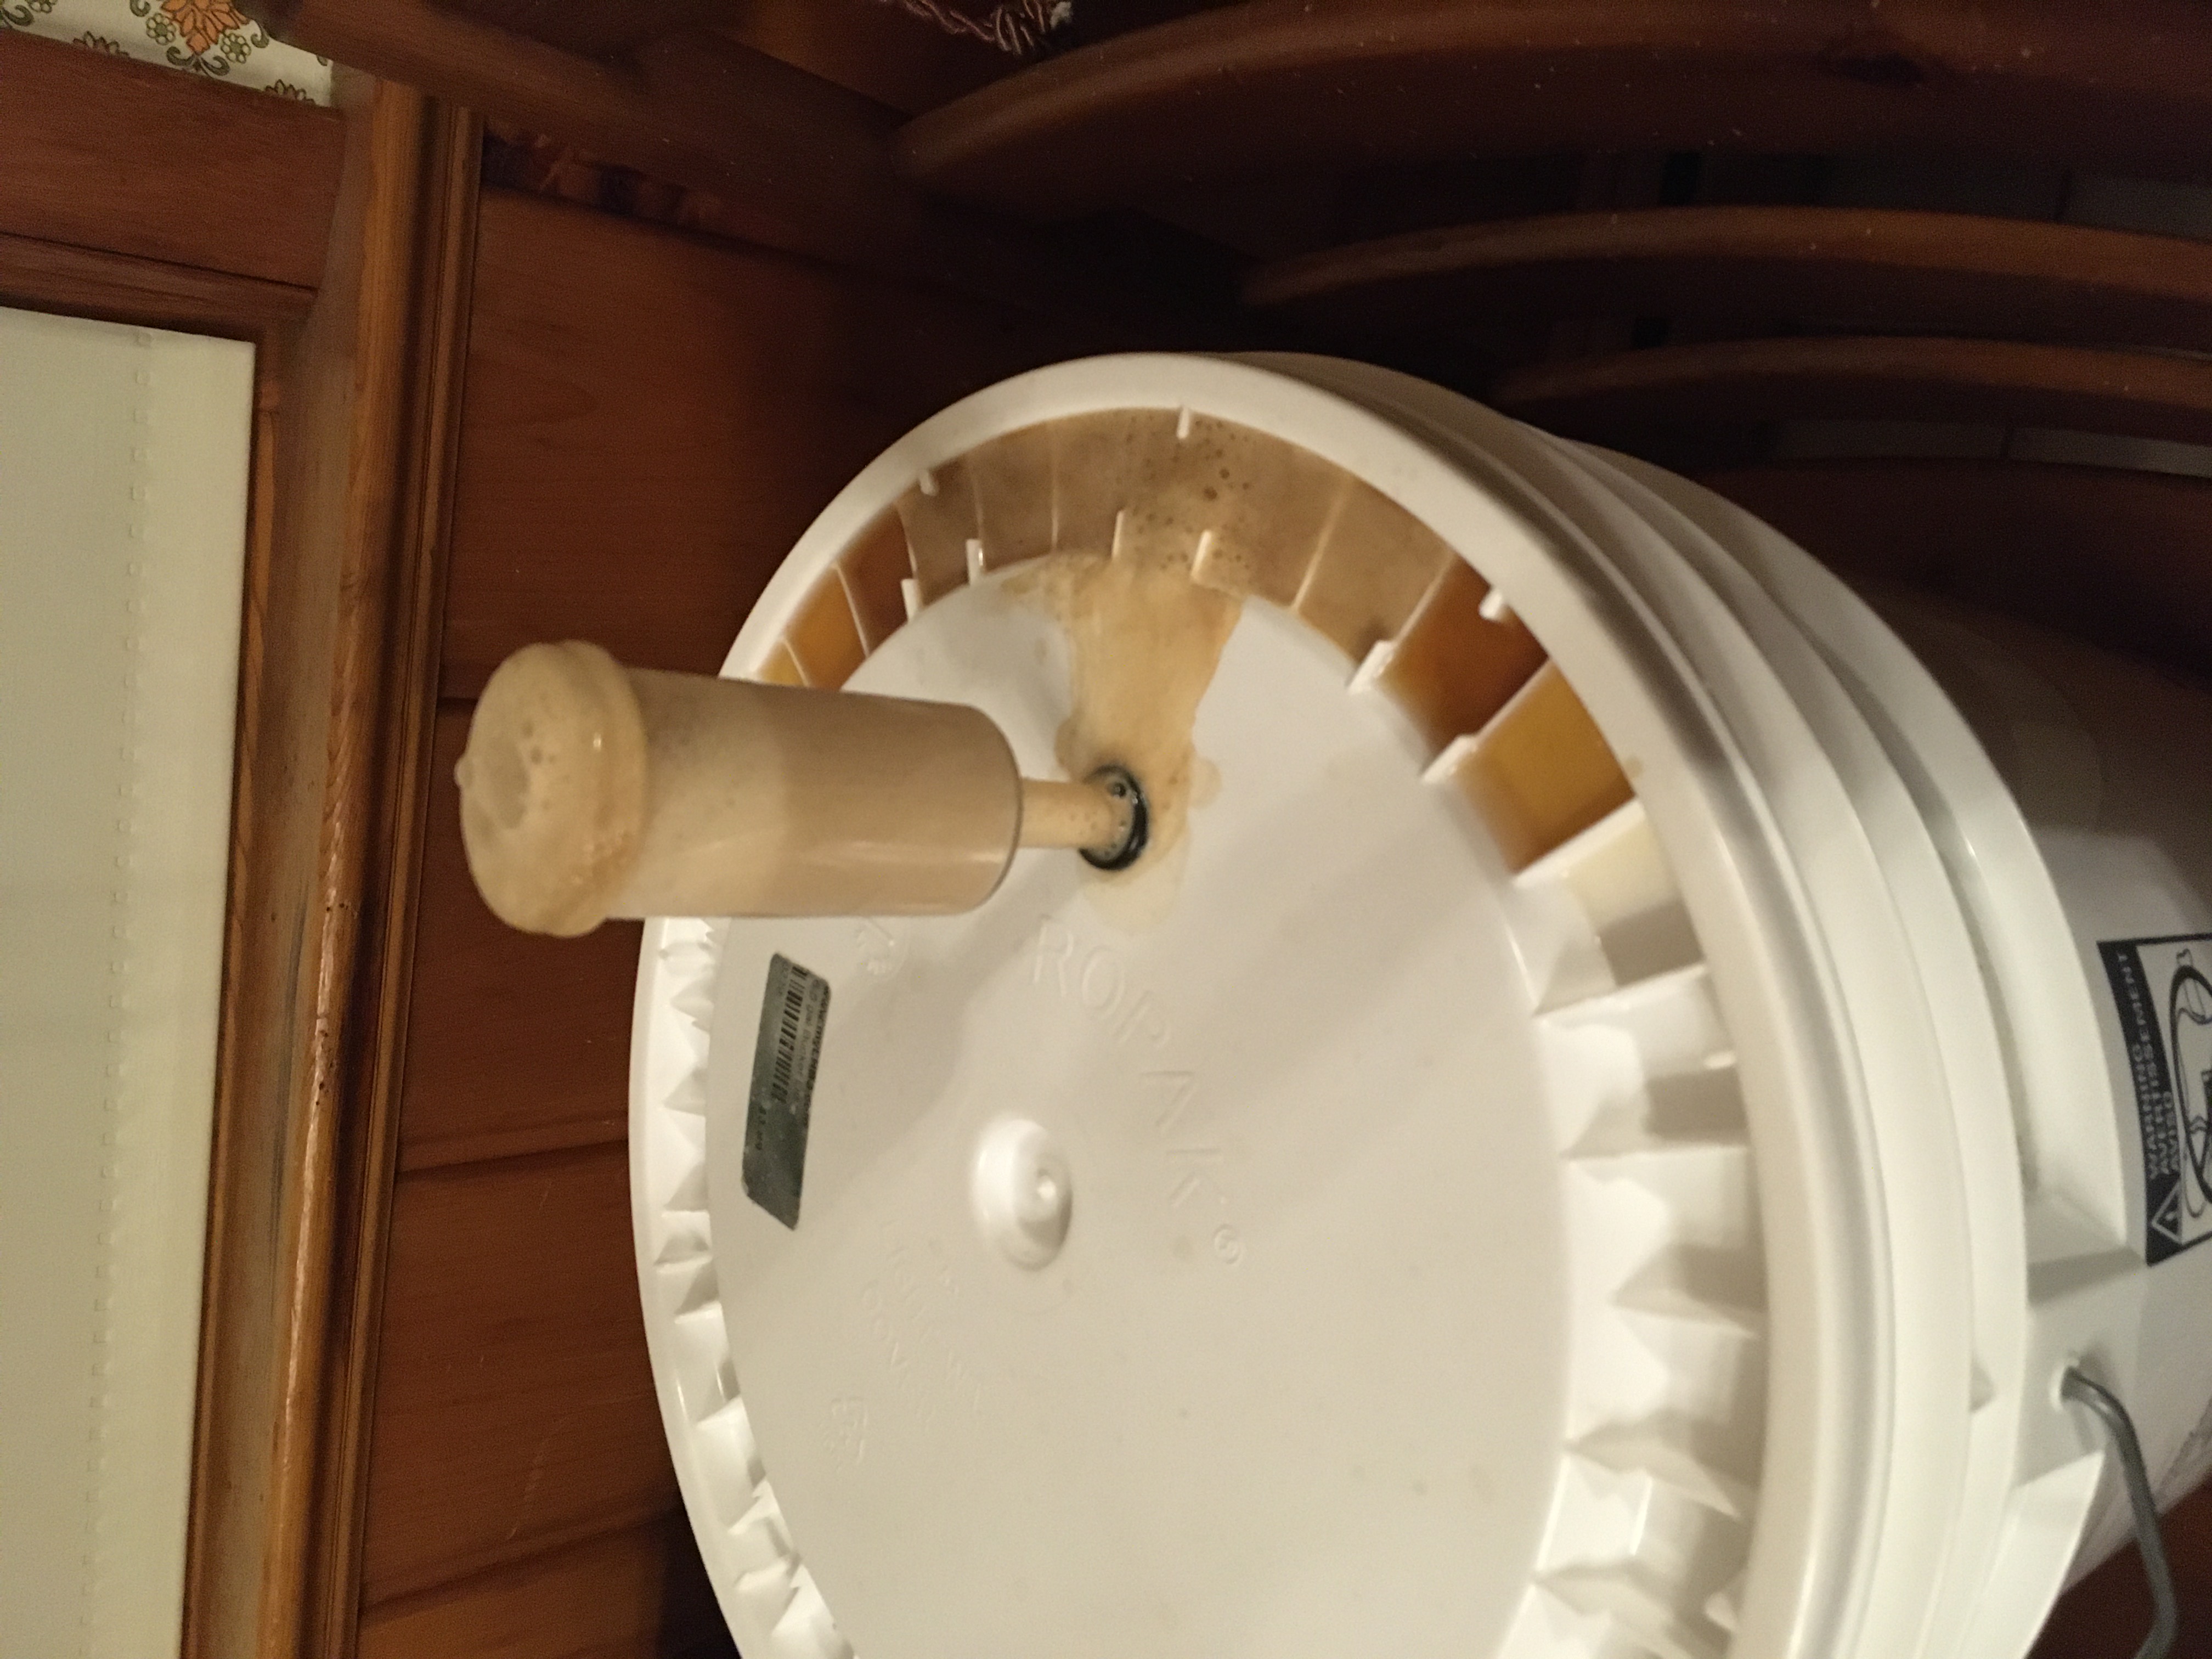
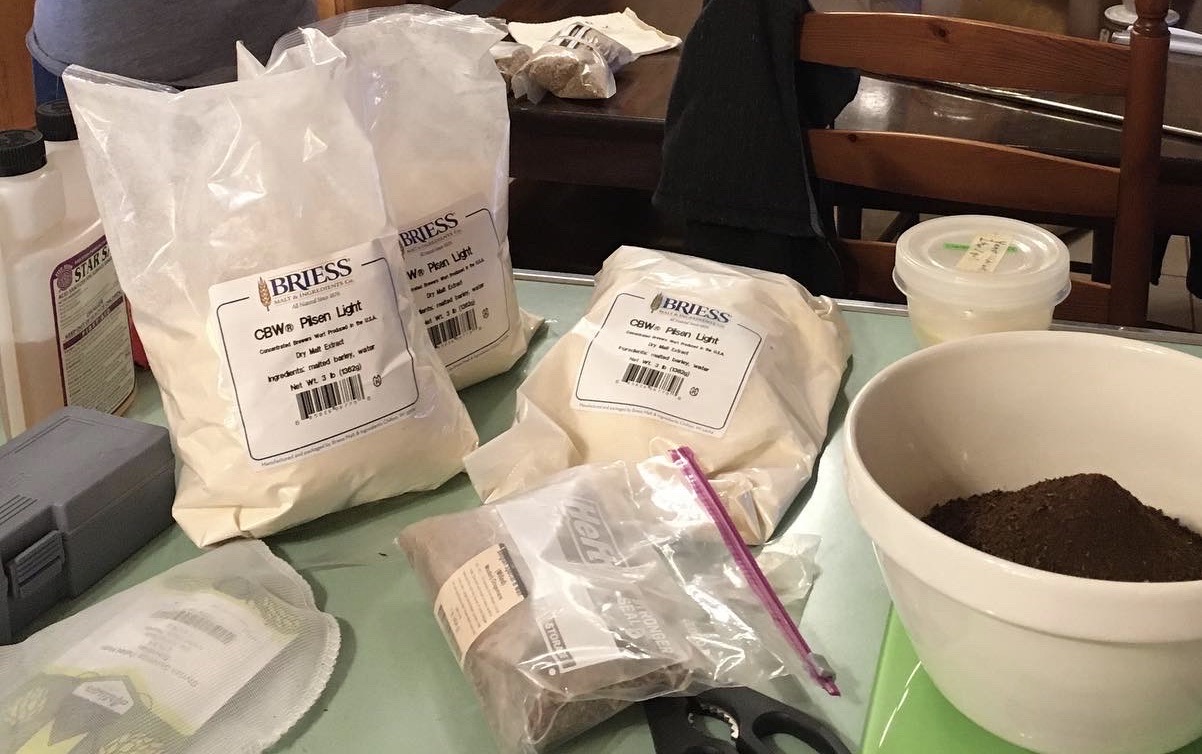
So, we dusted off our book of extract recipes, dug around in our odds-and-ends box of specialty grains, and put together a dubbel using the extract version of the recipe we used for our first all-grain batch 8 years ago. It was a little strange to be measuring malt mostly by ounces instead of pounds, but it was also nice to have the brew be a leisurely afternoon instead of an all-day affair (having much colder groundwater helped cool the brew down much faster too). And the yeast didn’t seem to mind — they went to town and produced a vigorous froth that foamed out the airlock after a couple days.

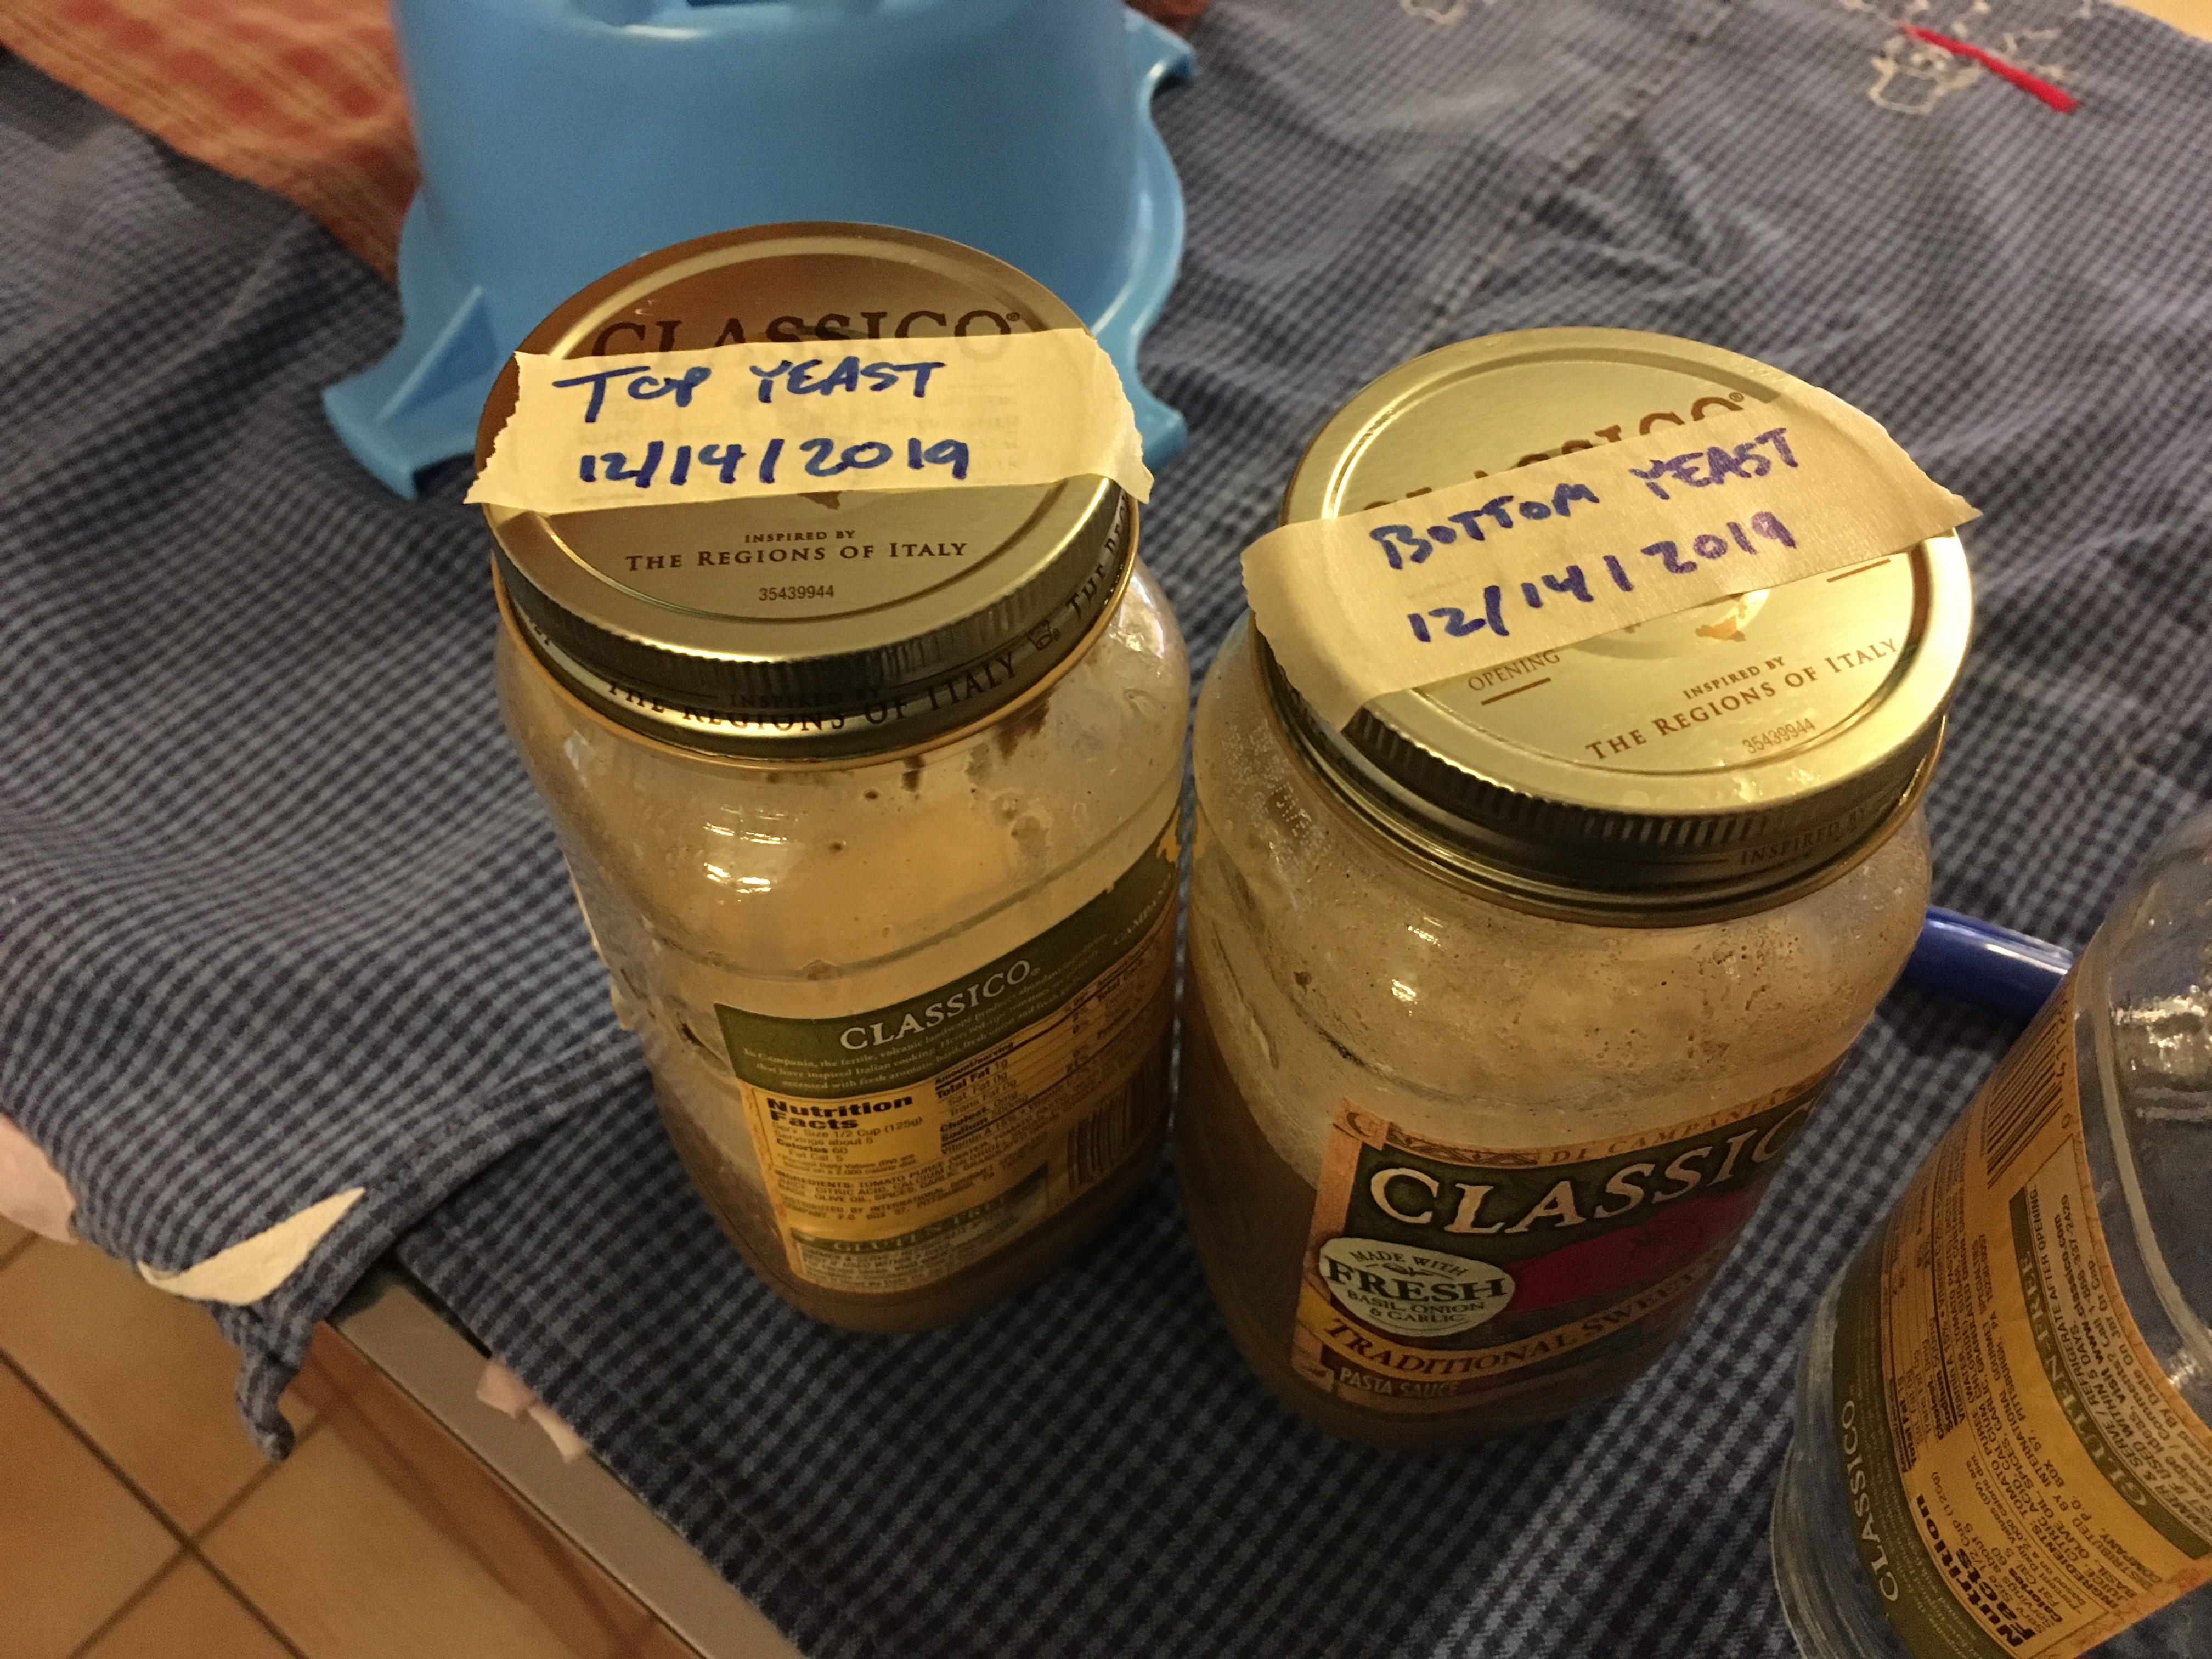
So we siphoned the beer over to a carboy to finish, and harvested that happy yeast for later. We’re planning to brew an extract variant of our colonial stout and blending with some of the last batch that’s been aging in a small oak barrel for far too long.
Kettle-Soured Saison

We’ve tried to brew sour beer before, but with little success.  Which is unfortunate, since sours are the main style we like that we can’t easily find in shops.  So we were excited to hear about some alternate methods for souring beers that don’t involve waiting for years for traditional barrel-souring to work its magic.  We read the Mad Fermentationist blog post about a faster souring process,  and then found a really good breakdown of the various souring options.

We decided to go with the sour-kettling technique, which boils down to taking a break between collecting wort and doing the boil to sour the wort with Lactobacillus.  We used the same recipe we usually use for our Saison Bruxellensis, and left the wort in the kettle (bundled up with towels to keep in as much of the heat as possible).

We added pure Lactobacillus culture from White Labs, and let it sour for a few days, watching the pellicle formation and checking the pH with color-change test strips.

This is where we hit our first complication: the pH strips were not nearly sensitive enough to reflect the small changes in pH we were seeing.  So we mostly relied on taste to monitor the souring process.  It was a little hard to judge the sourness, because the unfermented wort has a bunch of sugar in it.  We reasoned that the fermentation would convert the sugar and make it seem more sour, so we stopped when the sourness was noticeable but not dramatic.  As it turns out, the final beer was no more sour, so next time we might let it go a little longer.

We did the boil and fermentation as usual with both saison yeast and Brett Bruxellensis in primary.  The fermentation proceeded normally, the gravity stabilized, and we bottled with priming sugar as usual.  But I think we were too hasty in bottling, because when we opened the first bottle about a week later, it was badly over-carbonated.  Shortly after that, the caps began to swell.  We put as many of the bottles as we could fit in our kegerator, and luckily we haven’t had any bottles explode.

So, there are a few kinks to work out in the process, but overall it seems very manageable.  It does add a few days between the mash and the boil — though that’s probably not a bad thing, since it naturally splits the brew day, and each half fits into an evening instead of taking up an entire day of our weekend.

The final results are very nice, if we do say so ourselves.  A very drinkable sour saison, with a little body, a little funk, and a mild sourness.  It’s not gueuze, but it’s much better than our (basically non-existent) previous sour options.

Broap

We have made a couple batches of soap, but we weren’t very happy with the hardness.  They were mostly olive oil and rapidly dissolved unless you took great care to keep them dry.  So in practice they were always slimy, and someone being careless in the shower could dissolve away half a bar.

For our third batch of soap, we thought we’d try something different.  We’d seen many recipes that included lard or tallow for hardness, and although we thought that was a little gross, it seemed worth trying.  As it turns out, we’d been saving our bacon grease, but didn’t really have any use for it, so we had two mason jars full sitting under the sink.  So we melted those down, boiled the lard with water for a few hours, and then let it cool in a larger container in the fridge to make it easier to scoop out for making soap.

The other recipe change I wanted to try was using beer as the liquid instead of water.  This was partly because my mother-in-law sent me a link to a blog post that said it improved the soap.  Though I admit it was more for novelty’s sake, since as soon as we realized that we were making soap with the primary ingredients being bacon grease and beer, we started calling it bro soap, or broap.


We put together the recipe using SoapCalc:

  • 190 g beer
  • 69.65 g lye
  • 350 g lard
  • 75 g olive oil
  • 75 g coconut oil
  • 10 ml tea tree essential oil

And made the soap using a basic crockpot hot-process soap technique, with some slight modifications for the beer:

  • Drink about 1½ cans of beer, because you only need about half a can for the small batch of soap.  Keep the remaining half can in a jar and shake it thoroughly to make it completely flat.  n.b., it won’t ever stop foaming, because of the proteins in the beer, so just shake it up and then open the lid to relieve the pressure.
  • Carefully measure the lye in your dedicated lye measuring container.  I won’t belabor the safety precautions, but suffice it to say that lye is massively exothermic when combined with liquid, and is also the main ingredient in Drano, so wear gloves and goggles, mix in a well-ventilated area in a heatproof container, etc.
  • Slowly add the lye to the beer and stir until dissolved.  The lye beer will be just about boiling, and releasing toxic fumes, so let it sit until it cools down a bit.
  • Measure the lard, olive and coconut oils into a crockpot and heat on low until they are all melted.
  • Slowly pour the lye beer into the oils and stir until combined.
  • Mix with a stick blender until the soap is thick and opaque.
  • Cook on low for 30-60 minutes, stirring occasionally, until the soap bubbles up over the entire surface.
  • Remove the crock from heat and mix in the tea tree oil.
  • Cut the tops off of two of cans of beer and spoon the hot soap into them.
  • Cover the can molds with waxed paper and allow to set for 24 hours.
  • Cut the cans away from the soap and slice the soap into discs.

So far, we’re liking the broap.  The bar is firm and lathers well.  It seems like a good balance of cleaning well without being overly drying.  It has a faintly meaty odor to it, but doesn’t leave me smelling meaty at all.

Micro Mashing

Following the procedure in this excellent blog post, we did six micro mash test batches for a porter or double mild we’ve been thinking about brewing. We’ve been talking about brewing a porter for months now, but haven’t been able to agree on a recipe. Wind likes dry and roasty, Esme likes sweet and smooth. But there are also some outliers like Esme liking dark mild, but Wind doesn’t. When we have a porter or stout, it almost always turns out that one of us really likes it, the other doesn’t like it nearly as much.

We’ve experimented with multiple batches for trying different yeasts before, but didn’t have a process for trying different grain bills. So it was nice to find this process, which scales down a batch to quart size and then mashes and boils in mason jars. We made a few changes, with mixed results:

  • Instead of using malt extract, we did an all-grain mash because we wanted to test the difference between mild and pale ale base malts. We scaled our recipes down to 11.5 oz. of grain, which almost filled the mason jar, and were able to fit about 18 oz. of water. This worked reasonably well, but the mash efficiency was only about 45-50%, compared to the 70-80% we usually see with our usual mash process (Igloo cooler and fly sparging). So we would recommend doing a separate, larger scale mash to test different base grains (or accepting 50% efficiency and boiling down for higher gravity).
  • Because we were using more grain, a small strainer wouldn’t be big enough. So we used a pasta strainer lined with mesh bags (usually used as hop sacks). This worked very well, and gave us room to sparge the grains. We used the same setup post-boil to filter out the hop detritus.
  • We tried to do the boil in our usual kettle, using a canning rack to hold the mason jars. This seemed better than microwaving, since we’d be able to see them while boiling, easily add hops at the right times, etc. But the mason jars didn’t boil — an hour after the water bath started boiling, they were still slowly converging on 200°F. So we pulled them out and microwaved them, which worked fine.

This is a good process for trying out different grain bills, especially different specialty grains over a base malt you can get in powdered or syrup form. We’re looking forward to figuring out a grain bill we both like and brewing a full batch soon.

Hunahpu Day 2015

Yesterday, we went to Cigar City’s annual bottle-release-and-beer-festival, Hunahpu’s Day.  In addition to releasing their Hunahpu imperial stout, there were dozens of breweries from all over the country, with more than 200 beers on tap. This was Wind’s first time going to Hunahpu’s Day, and after hearing the stories of last year, she was excited but not entirely sure what to expect.

As it turns out, Cigar City did a number of things differently this year, and for the most part the changes worked very well:

  • There were paper tickets from Ticketfly, with the purchaser’s name on them, instead of online ticketing.  Tickets and IDs were checked at entry, which got rid of the duplicate ticket problems from last year and kept the crowd from getting out of control.
  • Lunch was provided by Cigar City’s brewpub/catering service as part of the admission price.  There weren’t as many options as last year, but the provided lunch was good (Redbeard loved the Ropa Vieja, and Wind really liked her Bratwurst).  The line looked very long, but moved very quickly.
  • There were no bottle sales during the event, and no extra bottles sold first-come-first-serve at the end of the event.  Instead, everyone got 4 bottles in a tote bag as they left (with no re-entry).  This went very smoothly as we left, and avoided having to stand in a long line to purchase bottles.  It also avoided a problem Redbeard had in past years: buying bottles in the middle of the event and having to lug them around all day.

The good parts of the festival from last year were preserved: all-you-can-drink small pours from dozens of breweries made for very short lines.  Not having tickets or tokens or any other payment made everything quick and easy.  We’re glad they kept this system from last year instead of returning to 8 oz. pours for $5 like 2013. Redbeard made a list of about 20 beers he wanted to try, and we managed to have more than half of them (along with some last minute additions).  There were a few breweries that ran out of beer after a couple of hours (like Cascade), but the vast majority were still going strong when we left near the end of the event.

Unlike last year, things went pretty smoothly and there was no angry crowd chanting “Cigar City Sucks!” when the beer ran out.  In fact, Cigar City  has a sense of humor (or was pessimistically planning to capitalize on any failures this year) — in additional to the usual merch, they had a “Cigar City Sucks!” t-shirt on sale. Redbeard had to get one, which resulted in us standing in the second longest line of the day (see below for the winner):

Of course, no beer festival would be complete without at least some logistical problems. Compared to last year these are manageable, at least:

  • The longest line of the day, by far, was the line for entry.  We arrived 30 minutes before the event started, and the line was down the block, across the street, and snaking all the way around the edge of their parking lot. It moved slowly and it took us an hour and fifteen minutes before we got in.  It’s not really surprising that the line was slower because they were checking IDs, but they could have started much sooner to work through the line before the starting time.  We’ve seen other festivals do this effectively by taking tickets and letting attendees into a holding area (sometimes with food — looking at you, Vermont Brewer’s Festival, well done!).
  • There was very little shade at the event.  There was one tent with seating at the far end of the space (which was completely packed), and each brewery tent had a small amount of shade at the front of the line.  But since the event’s held in Cigar City’s parking lot, it was otherwise in full sun, with temperatures in the mid-80’s, under a cloudless sky. A few tents in the middle of the space would go a long way towards providing more shade and helping people keep cool.
  • Even capped at 2000 attendees, the space was pretty crowded. The lines for beer were (mostly) nice and short, but the food and merch lines were long and made it hard to move around the space.

All three of these issues probably boil down to not having enough space.  If they can’t move the event to a larger space, they should consider splitting it into a couple of sessions.  The Vermont Brewers Festival does this (three 4-hour sessions over two days), and that’s a great way to serve more people in a limited space.  It would also help address the shade problem if people could go to a session that wasn’t right in the middle of the day.

But, let’s not end on a low note — it was a great day and we had some amazing finds. We both agree the clear winners of the day were Nola and Night Shift. Getting to have about 6 different sours within 40 minutes of entering the event was a (tipsy) delight. In fact, some of the beers toward the front of the space were so good that that is probably why we didn’t get to back before some of the more big name brewers ran out.

Tasting of Doom

We were going to bottle a batch of beer, and were running short on 12 oz. bottles.  So we decided to taste all the homebrew we have hanging around (including some of questionable quality), and decide if there were any bottles we could free up — that is, if any of them were so bad we’d never drink them.

We started with our sours — five batches of saison fermented in 1 gallon glass growlers for a year, with various souring agents and a small honeycomb of oak for them to live on:

  • 17a (plain saison): this tasted fine, with more oak than we expected, but was almost completely flat.  Decision: borderline (would drink if we can carbonate it somehow).
  • 17b (Brett. bruxellensis): also fine, with good Brett character, but also terribly undercarbed.  Decision: borderline.
  • 17c (Lactobacillus): terrible and acrid.  Decision: drainpour.
  • 17d (Brett. & Lacto): sweet and cloying.  Decision: drainpour.
  • 17e (White Labs Sour Mix): very nice, but completely flat.  Decision: borderline.

We then moved on to our last batch of cysers/meads — again, small batches fermented in 1 gallon glass growlers, with four different kinds of honey:

  • 16a (Cross Creek Tupelo honey): sweet, rich, and completely flat.  Luckily still mead is a thing (not the thing we were trying to make, but sometimes you have to be flexible).  Decision: keep.
  • 16b (Cross Creek Everglades honey): very nice, but with a little bit of off flavor.  Decision: borderline.
  • 16c (Uncle John wildflower honey): lots of dark honey, oaky.  Decision: keep.
  • 16d (Uncle John’s clover honey): light, with tons of honey character, best of the tasting.  Decision: keep.

I’m left with an appreciation of how hard mead and sour beer are to get right.  Of the two, the mead definitely turned out better, with even the worst batch being tolerable.  By contrast, the sours with Lactobacillus are foul and undrinkable — it was easy to dump those to free up some extra bottles.  But the other sours were fine, other than being flat.  So we’re thinking about trying to force-carbonate them, either by decanting the remaining bottles into a keg, or using our Sodastream.

New Beer Freezer

The old faithful wine beer fridge finally gave up the ghost a couple weeks ago.  It had been reliably chugging along for years, but recently had trouble keeping the temperature down, and was running most of the time.  I did some searching online to try to find a good replacement.  I initially thought that a kegerator without the taps would be the best option, since they are large, don’t have weird bumps in them that eat into bottle storage, and keep very cold efficiently.  But they’re also much more expensive than either wine fridges, or a new category I hadn’t seen before: beverage refrigerators.  The beverage fridges seemed like a good option, since they’re designed for soda/beer (i.e., colder than wine).  But I couldn’t find any good info on how big they were inside, and estimating their capacity based on the number of soda cans made it look like they wouldn’t hold that many bottles (20-30 as opposed to the 35 the old wine fridge held).

2014-12-30 10.28.33But then we found a reasonably priced chest freezer.  Even after buying an external temperature controller (which cuts the power to keep the freezer from getting too cold), it was less expensive than the beverage fridges.  And after I built a little shelf to hold a crate of bottles in a second layer, it can hold quite a bit more than the wine fridge (about 50 bottles).

The other advantage of having a chest freezer is potentially being able to lager or cold crash beers after fermenting (or being able to do a controlled-temperature fermentation if we wanted to).  And if our trusty kegerator stops working, we could always drill a few holes and make the chest freezer into a keezer.

Month-Old Hops

After a month, the three different hop plants are showing very different results:

  • The Golding (middle) is doing very well.  It has two bines trained on its lines and is climbing well.  It’s got healthy leaves and has put out a couple new shoots.
  • The Fuggle (right), is doing OK with a couple of decent shoots starting to train up its lines.
  • The Saaz (left) isn’t doing very well at all, with just a few tiny shoots still too small to train.  The one bine we did train has withered.

I’ve heard that many hop varieties need a year to get established, so the Saaz and Fuggle might just need to wait until next year.  But I’m hopeful the Golding at least will grow well and maybe give us some hops this year.  If the Saaz doesn’t start making progress soon, I think we’ll take one of the other Golding shoots and take over one of the Saaz lines.

Hops Trellised

The hops have already started putting out feelers (especially the Golding which has sent out 5 of them already), so we moved them over to a place with good southern exposure and started a twine trellis for them to climb up the mostly-abandoned backyard play fort.

For the Golding, we got to choose the best two bines and prune off the rest.  The Fuggle only had one decent bine going, so we’ll wait and see if it has another.  The Saaz has a couple of very small shoots, so it should be ready to be trained in a few weeks.

Apparently hops can grow 15 to 20 feet.  We’ve only got 8 feet of fort (really more like 7 feet because of the pots).  But if we’re blessed with the problem of overgrowing bines, I figure we can just let them grow over the top of the fort.

Hops in Florida?

I had always assumed that it was too hot and/or swampy to grow hops in Florida, since they’re typically grown in cooler climes.  But it turns out that quite a few people have tried it (at least at the backyard-hobbyist level) and posted about it online.  So it seems at least vaguely plausible that we can grow them successfully in our backyard, so we figured it was worth giving it shot.

We asked our local garden center about it and they hadn’t heard of anybody growing hops in Gainesville.  But we found a nice online retailer and got a few varieties of hops that we like and use frequently (Fuggle, Goldings, and Saaz).  A few days later, we had a small box with three hop crowns packed in what looks like barley hulls.  We got them potted in nice large pots this morning, and tucked them under an oak tree in our backyard to give them good shade and shelter from the heavier rains, to give them a gentle introduction to the Florida climate.  Once they’re established and putting out bines, we plan to trellis them up (and if necessary, over) our backyard play fort that’s not getting much use lately.  With any luck, our early winter will be roughly like the harvest season in more typical hop-growing places, and we’ll have fresh hops to brew with before Christmas.

The growing conditions are supposed to have a big impact on the aroma and flavor, so we’ll have to wait and see how they turn out.  But we figured going with hops we like was a good starting point.  There are a dizzying number of hop varieties, and a lot of new ones coming out all the time.  So if these three don’t work out, we might try again with a few different varieties before we give up hope.