Category Archives: Beer

Back to Extract Brewing

It’s been a long time since we did our first all-grain batch of homebrew — and never looked back. But we recently moved to New Jersey and bought a very well-preserved mid-century house, which among its many quirks is the fact that all of the kitchen appliances are just a little bit smaller than is standard today. In particular, the clearance over the stovetop is about 20 inches, much too low to have a 18+ inch kettle boiling on it.

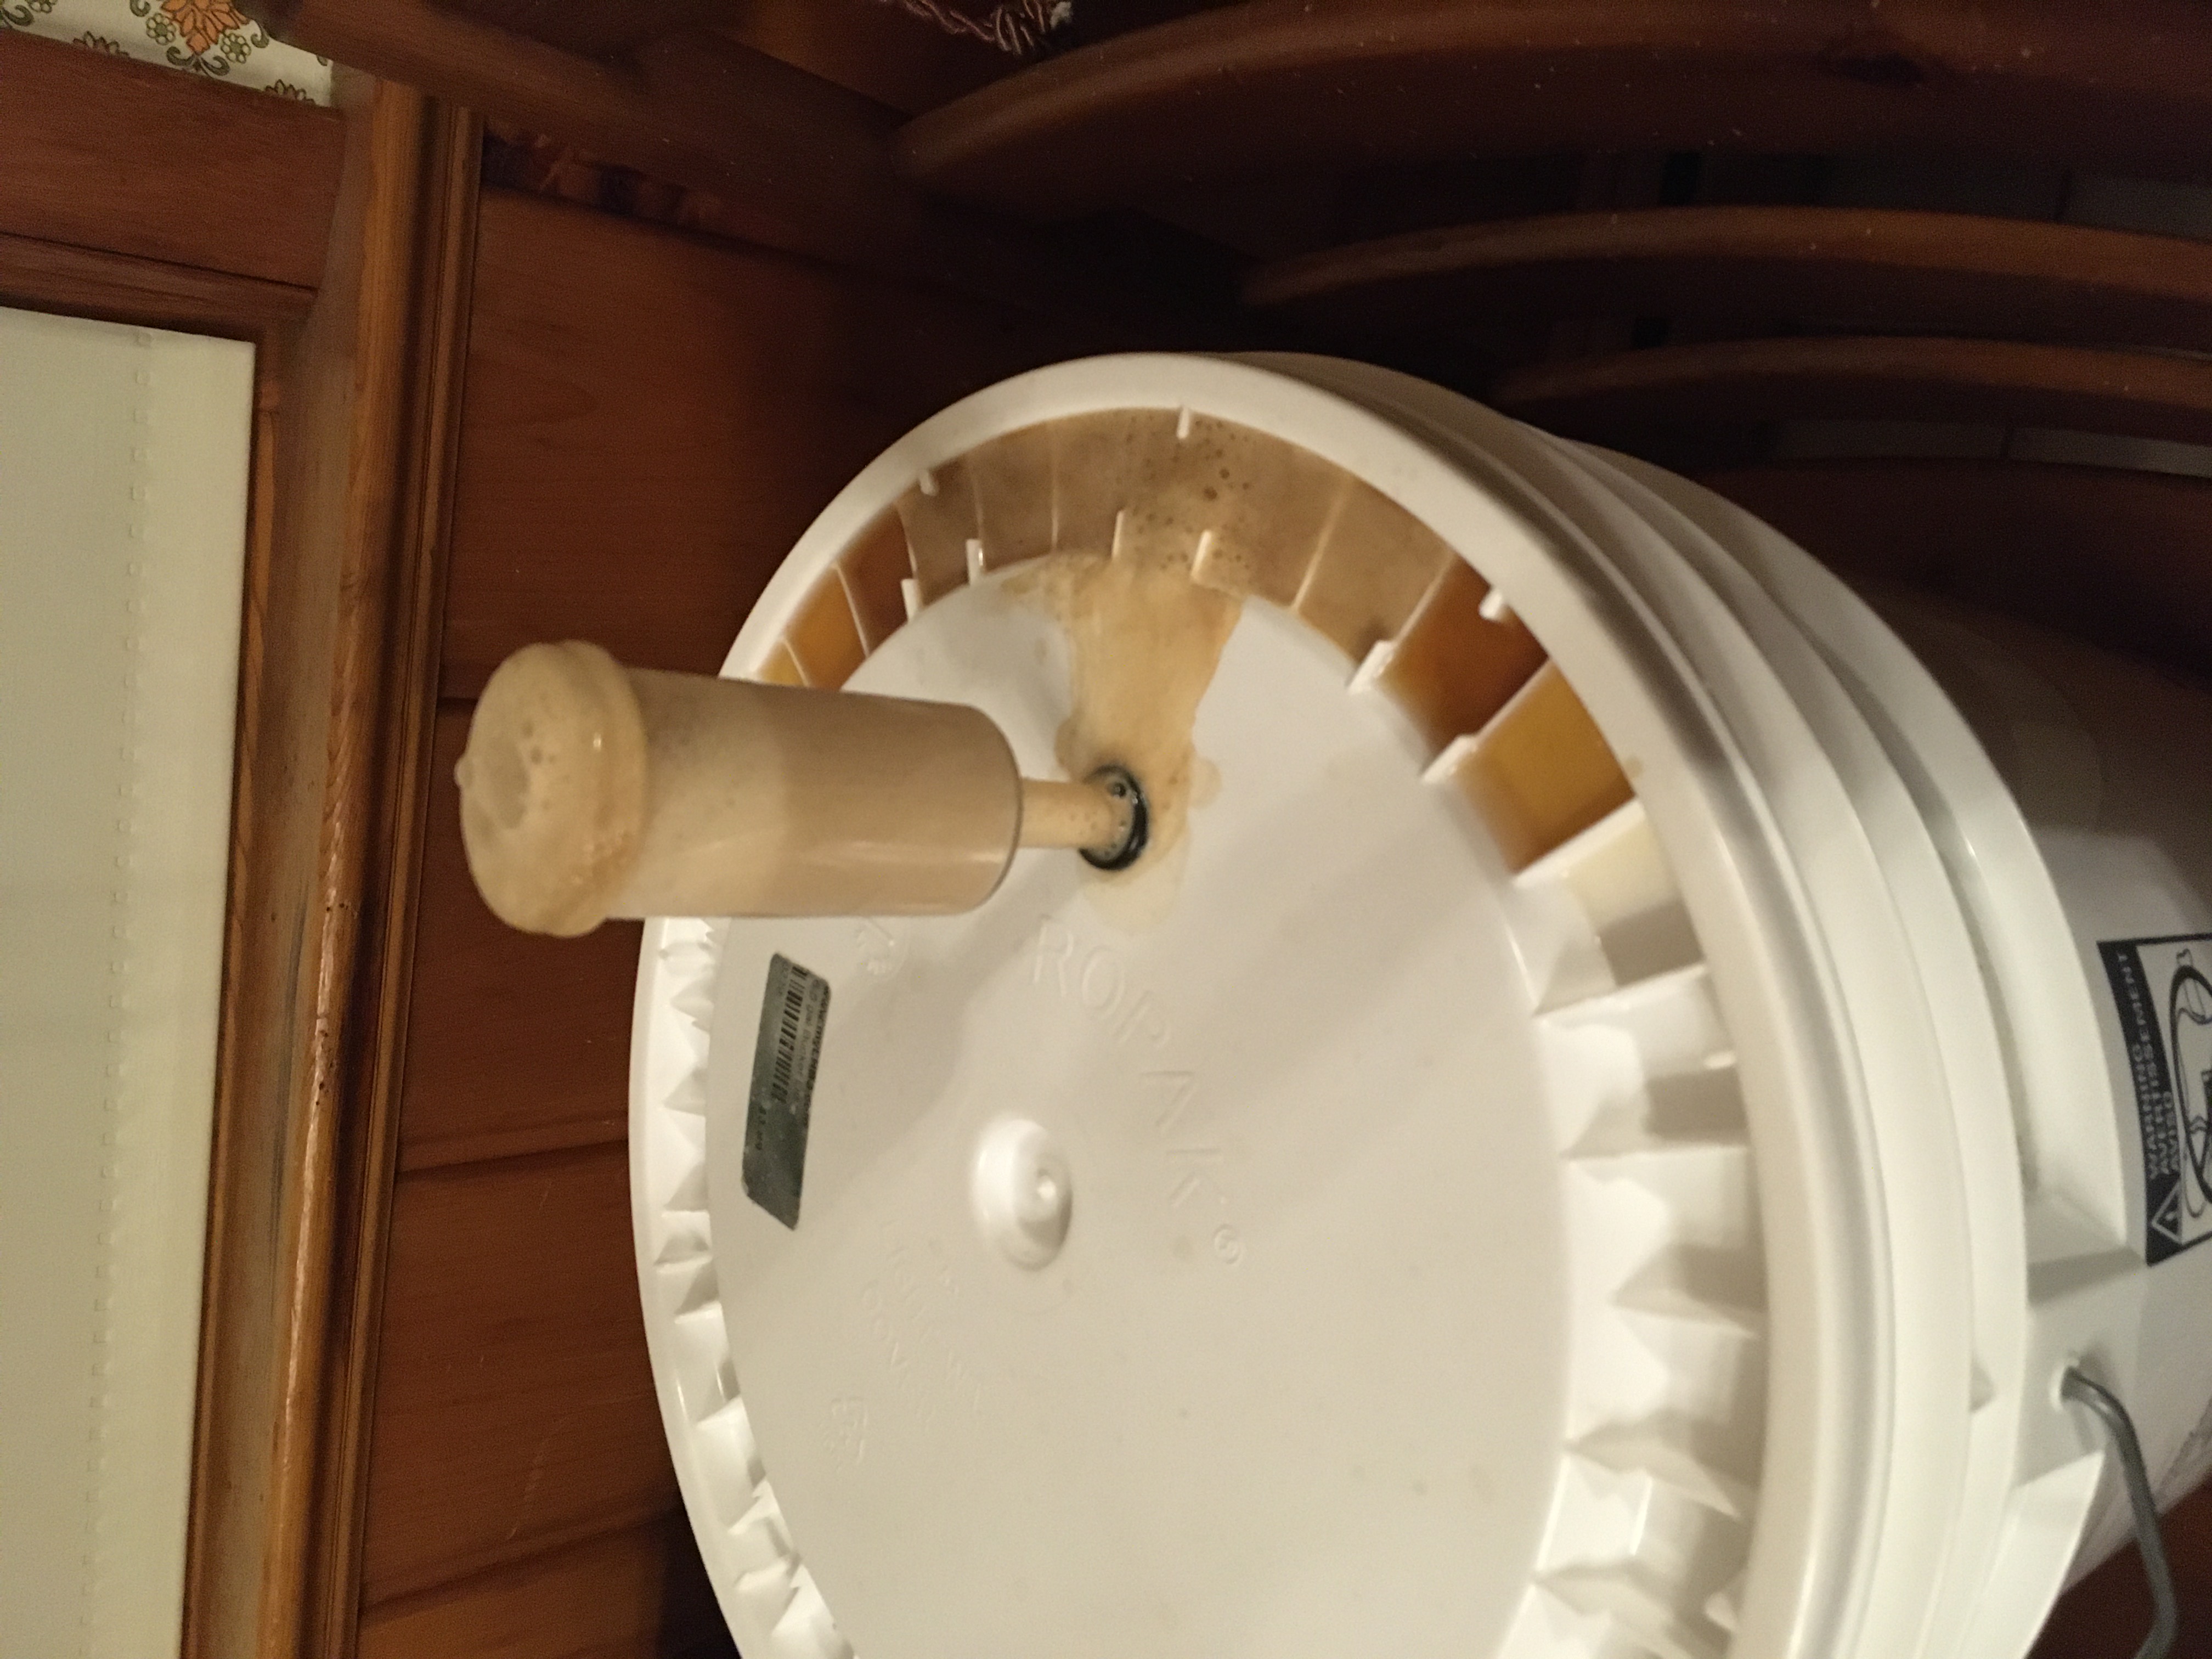
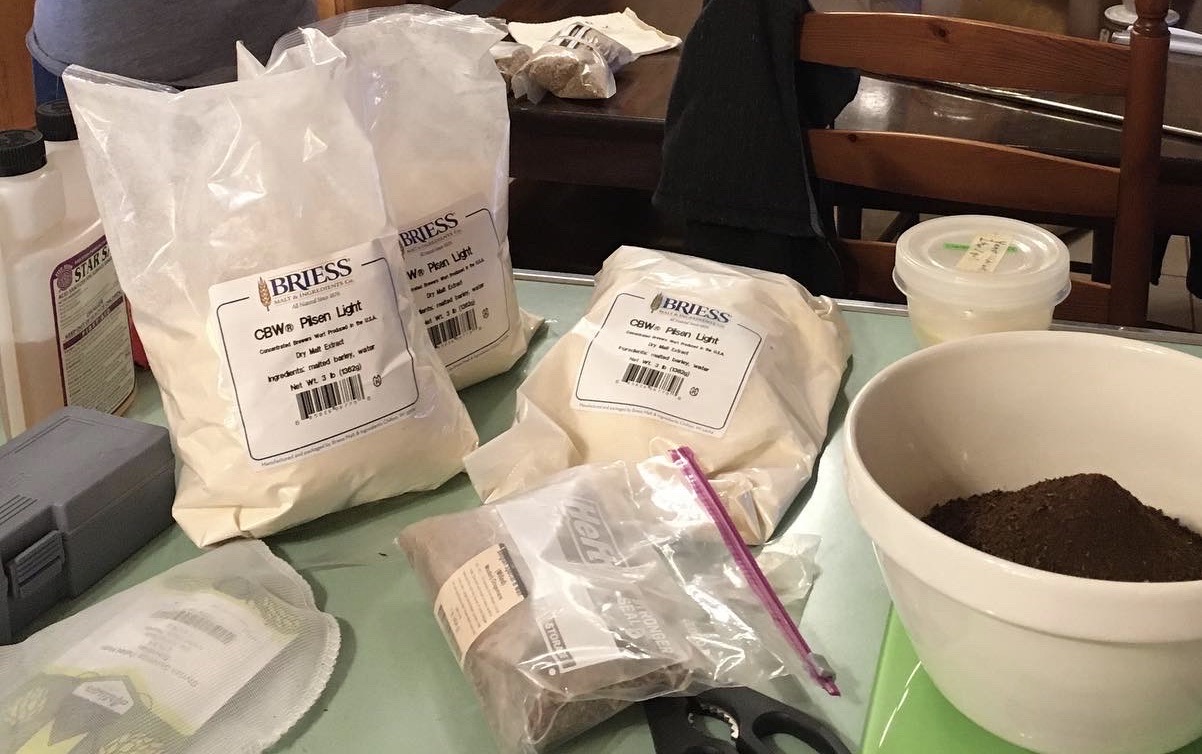
So, we dusted off our book of extract recipes, dug around in our odds-and-ends box of specialty grains, and put together a dubbel using the extract version of the recipe we used for our first all-grain batch 8 years ago. It was a little strange to be measuring malt mostly by ounces instead of pounds, but it was also nice to have the brew be a leisurely afternoon instead of an all-day affair (having much colder groundwater helped cool the brew down much faster too). And the yeast didn’t seem to mind — they went to town and produced a vigorous froth that foamed out the airlock after a couple days.

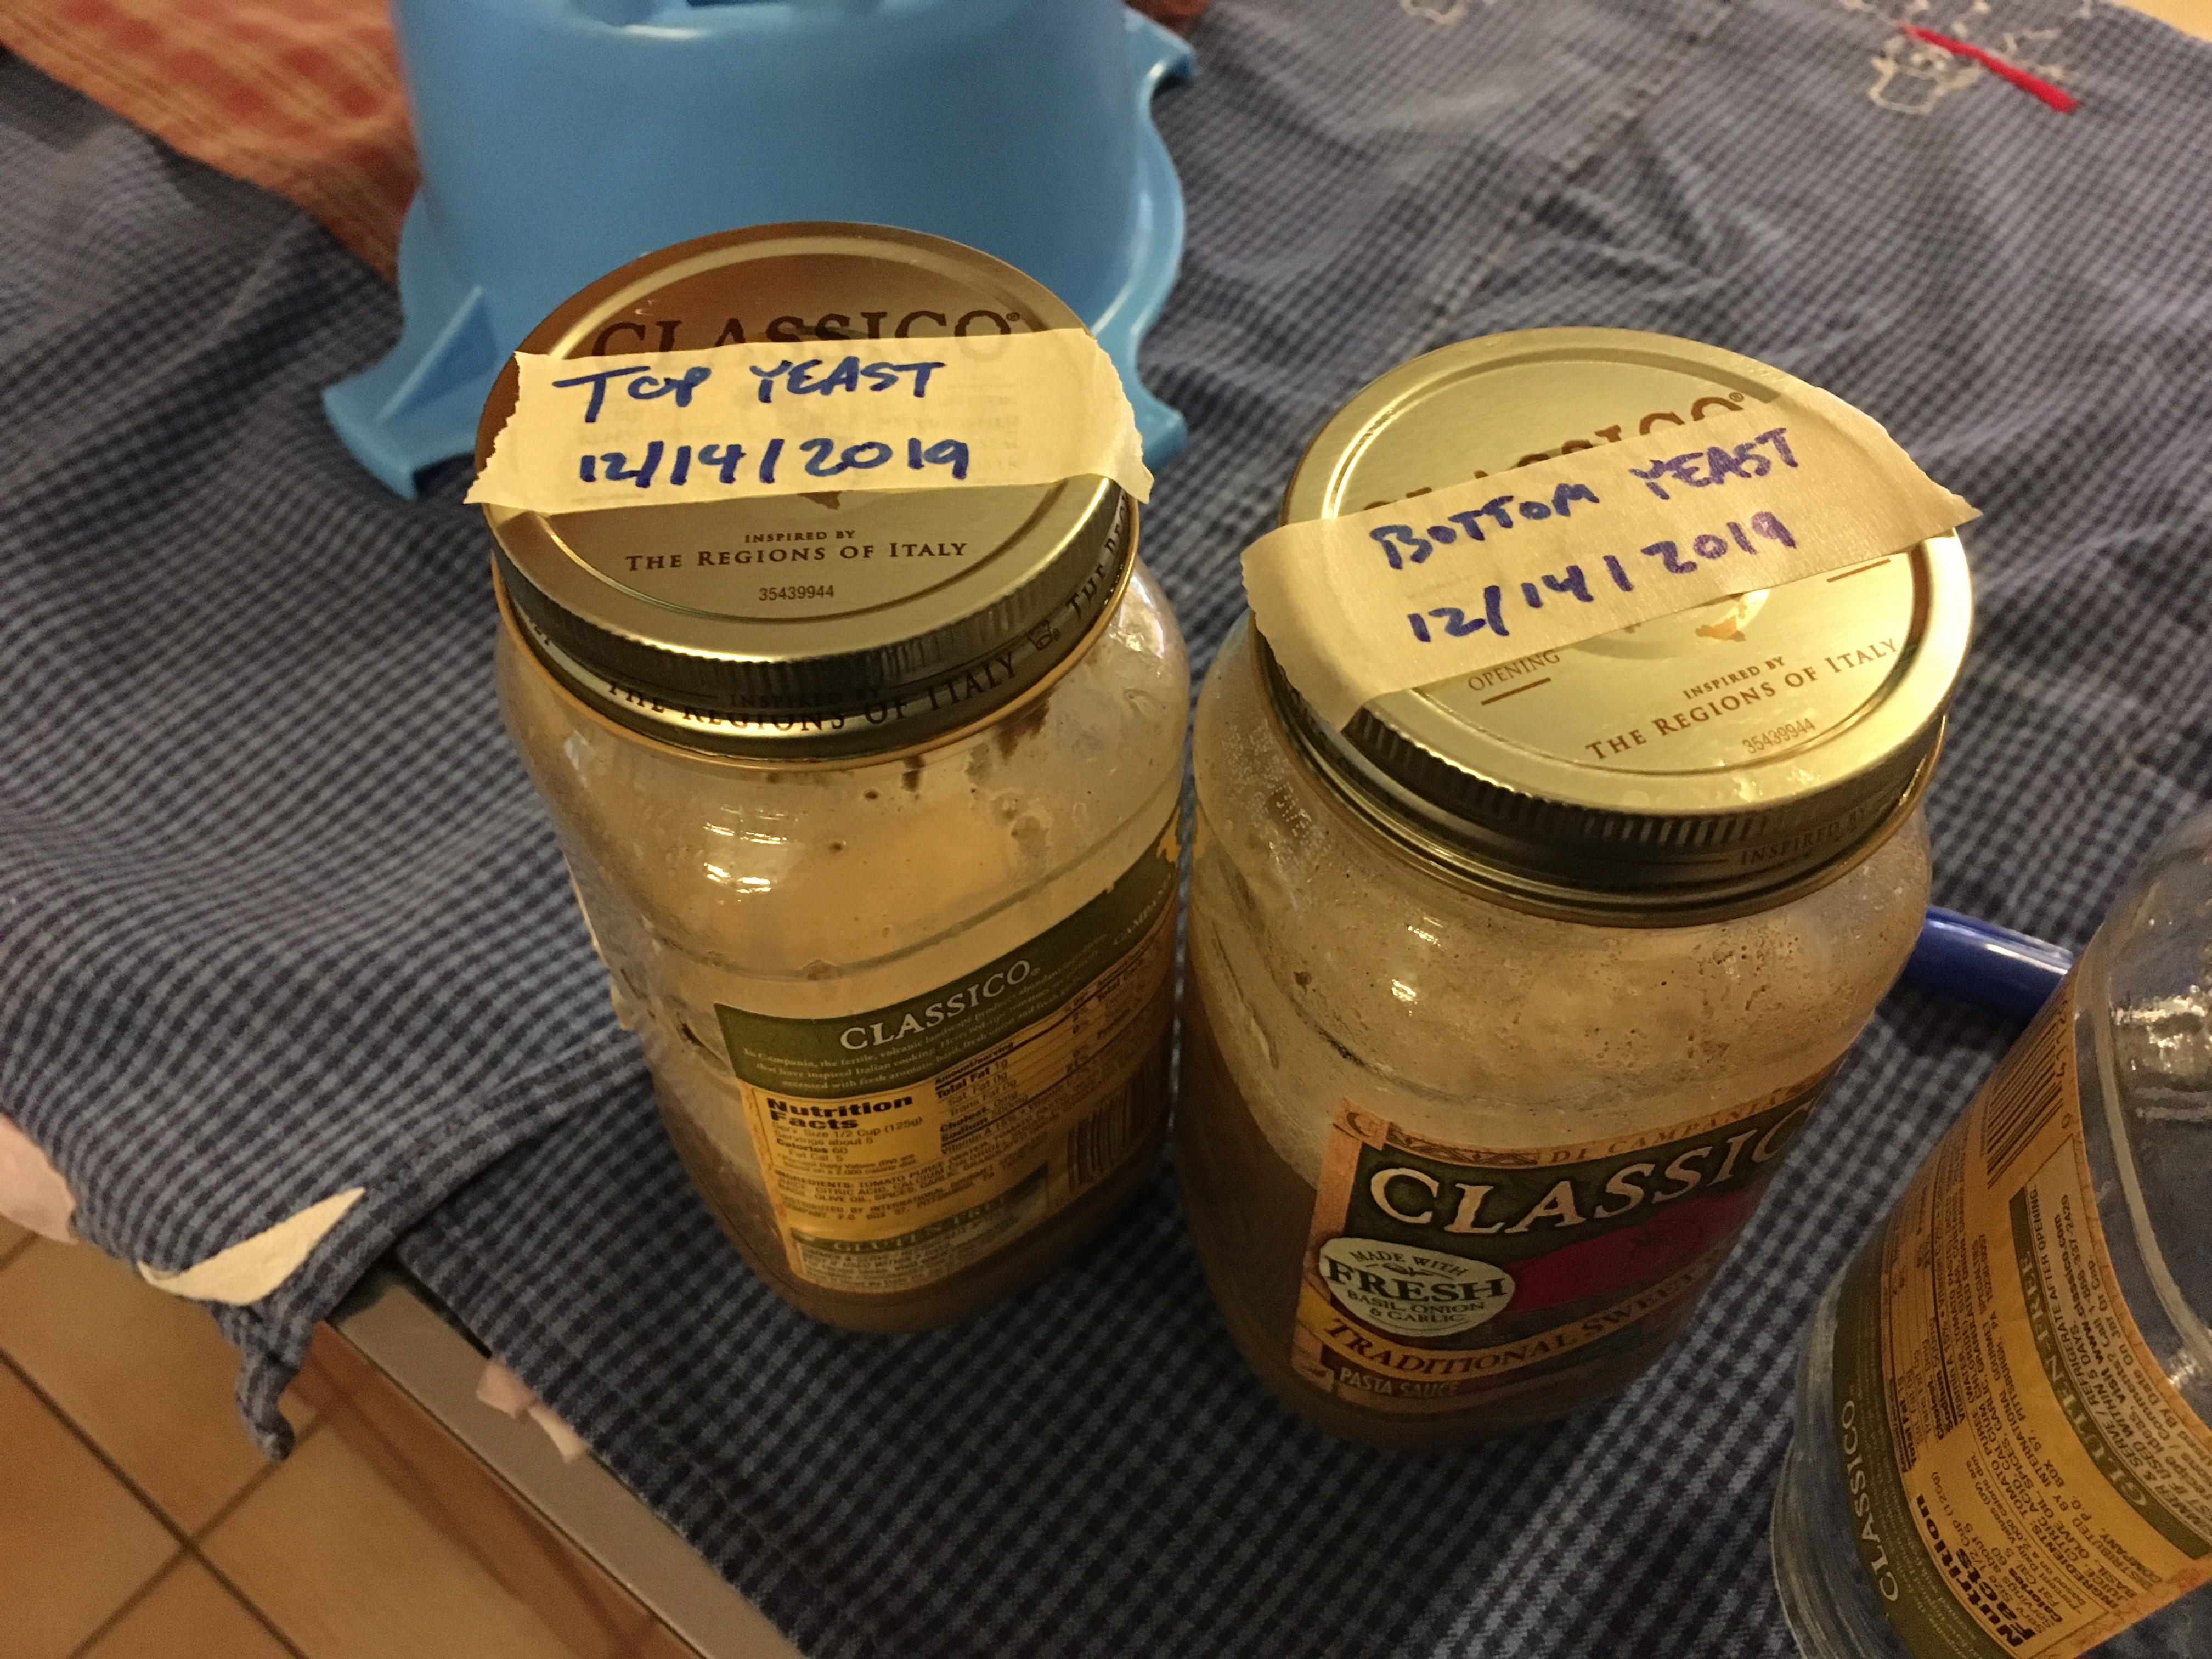
So we siphoned the beer over to a carboy to finish, and harvested that happy yeast for later. We’re planning to brew an extract variant of our colonial stout and blending with some of the last batch that’s been aging in a small oak barrel for far too long.

Colonial Stout

Since it’s been a very hot and muggy summer, we were talking about what we’d like to brew for later in the year when it cools off.  We were fondly remembering the imperial stout we brewed last year, but recognizing that even on a chilly fall evening, we weren’t often in the mood for a 10% beer.

So we thought we’d scale it down a bit, to something more approachable like 6%, but keep the same ratios of grains — a mix of maris otter, mild, chocolate, crystal, special B, etc. that we’re calling Colonial Stout.  It’s in the fermenting bucket now, and cacao nibs are infusing in vodka to be added next week.

Saison Bruxellensis

8½ lbs. Belgian Pilsner malt
½ lb. Vienna malt
½ lb. Munich malt (60L)
1 lb. clear candi sugar (syrup or rocks)

1 oz. Styrian Goldings hop pellets

½ oz. East Kent Goldings hop pellets
1 tsp. Irish moss
½ tsp. bitter orange peel

¼ oz. East Kent Goldings hop pellets

WLP 565 Belgian saison yeast
WLP 650 Brett Bruxellensis yeast

  • Heat 10½ quarts of water to 180°F, add to mash tun and rest until temperature drops to 170°F.
  • Mash grains at 150°-156°F for 60 minutes, until starch test shows conversion is complete.
  • Collect wort slowly while sparing with 5 gallons of 200°F water.
  • Collect 6.5 gallons, with a gravity of 1.040 (10.0 Brix).
  • Add candi sugar to bring gravity up to 1.048 (11.8 Brix).
  • Bring to a boil.
  • Boil 30 minutes and add SG hop pellets.
  • Boil 45 minutes and add ½ oz. EKG hop pellets, Irish moss and orange peel.
  • Boil 10 minutes and add ¼ oz. EKG hop pellets.
  • Boil 5 minutes and remove from heat.
  • Chill using wort chiller, rack to sterile fermentor, and dilute to 1.057 (14 Brix).  Or rack to sterile fermentor while hot, dilute, and chill with ice bath or allow to cool to room temperature overnight.
  • Pitch yeast when temperature is below 80°F and seal with airlock.  Fermentation should begin within 24 hours.
  • Ferment until gravity drops to 1.017 (8 Brix).
  • Keg and force carbonate, or bottle (I use Northern Brewer’s priming sugar calculator to determine how much priming sugar to use).

Yield: 5 gallons, ABV: 5.5%, IBU: 27.5

Recent Homebrews

We haven’t been blogging, but we have been brewing (and knitting, and sewing, and making soap, and….).

Batch #25 was our first stout, clocking in at 9.5%.  We used a variety of dark malts (crystal, chocolate, “Special B”, smoked, and roasted barley) to get rich flavor we like in stouts, but avoided the darkest malts (like black patent) and only small amounts of some of the darker malts to avoid too much bitterness.  We also had a pound of cacao nibs that we picked up at Lake Champlain Chocolates last summer, which we wanted to infuse.  After some research and dithering (because there are a billion variations on how homebrewers brew with chocolate), we decided to soak them in vodka for a few days and pour the chocolate liquor into the fermentor for second fermentation.

The initial fermentation was explosive.  Fermentation started almost immediately, and fouled the airlock in less than an hour.  I’m glad I put it in the bathtub overnight, because it made a mess in there, blowing the airlock completely out of the neck of the fermentor.  But it quickly settled down.  And the end result is really good — a rich, velvety stout with tons of flavor, but very little bitterness.

Batch #26 was our first wild beer.  We picked up some apples at the farmers market near us, and I’d read that yeast cultured from apple skins was generally good for brewing beer (or cider, obviously).  So I skinned the apple and put the skins in a moderately-strong wort (which had some crystal malt to encourage yeast that could handle that).  It took a few days to begin fermenting, but I was then able to step it up like a normal starter, and then save the yeast for later.

Later turned out to be a few months later, when I brewed with a friend.  I brought the yeast, and he had some malt extract and a big bag of frozen mixed berries.  So we mashed and pasteurized the berries, and added the slurry to the extract wort at the end of the boil, and pitched the wild yeast as soon as it cooled off.

At first, we thought the wild yeast had failed to start, because there was no bubbling activity.  But when we checked it after a week, fermentation was done (and much more efficient than we expected for wild yeast).  The result is like a very dry saison, with some tannin from the berries, and a little fruitiness.

Both of these have been fun to drink, and well-received when we’ve shared them.  So it’s encouraging us to try some new things.

Breweries of Montgomery County

It just struck me a few weeks ago that we’ve been living in Rockville for nearly nine months now.  We haven’t been to all of the breweries and brewpubs in the county, but we’ve been to a bunch, and here’s what we think of the independents:

Denizens

Definitely our favorite, even if it’s kind of a pain for us to get to — if you don’t live right next to the other end of the Red Line, then it’s conveniently located less than half a mile from the Silver Spring metro stop.  If you are driving, at least there’s plenty of parking nearby.  Either way, once you get there, it’s a great and well-appointed taproom and beer garden.

Beer: They have more variety than most (five year round beers and four specials on tap).  Everything was fantastic, including their lagers (neither of us are big fans of lagers, so it’s notable when we actually like someone’s Bohemian Pils).  Their double IPA and tripel were especially good.  We had mostly standard styles when we visited (the aforementioned pils, tripel and IIPA, plus a rye IPA), but we’ve also seen more adventurous stuff from them (like a sour saison we had at an event at Pike & Rose last fall).  We’ve also seen their very nice saison at Founding Farmers and enjoyed it quite a bit.

Food: They have a full menu, and it’s not just pub food.  Yes, they have burgers, but they also have carnitas other more interesting stuff too.  Everything was great, including their veggie burger, which was falafel-like.

Ambiance: We ate in the taproom, and it was cozy and comfortable — and was fine for the kids too.  It was rainy out, so we didn’t try the beer garden, but when the weather is nice, I expect it would be great too.

7 Locks

Newly opened this fall off Rockville Pike, just north of Montrose Parkway, about a mile from the Twinbrook metro station.  It’s a very basic, business-park brewery that will be instantly familiar to anyone who’s visited a lot of breweries.

Beer: We went shortly after they opened, and all of their beers were solid, true to classic styles, but nothing blew us away.  We had a flight of all their beers, and liked their rye IPA the best (got a growler to take home).  I see they have several new options listed on their website now, so we’ll have to go back and see what they’re up to now.

Food: There was a food truck out front, which was great, though obviously limited by whether there’s a food truck available.  They do have the schedule on their website at least.

Ambiance: Very typical business park brewery, with industrial space with brewing equipment and a bar in one corner.  They have set up the space pretty well to be able to improve the taproom section, and there’s a separate little room in the front.  Between the limited food options, and the lack of anything else for them, we probably wouldn’t want to bring the kids.

Baying Hound

The county’s oldest brewery, which unfortunately just closed this week.  They were in a business park a little more than a mile from the Rockville metro.  We’ve gotten a few of their bottles at Belby’s (there’s still a handful left!), but had never been to their tasting room until a couple weeks ago, after we heard about them closing.

Beer: They had some standards (pale ale, abbey ale), but a lot of their beers were very original.  We had our first sour barleywine from them, and it was fantastic.  And for the most part, the new twists came off really well.  Of the six beers they had on tap when we went, we liked two of them a ton, two were decent, and were split on the last two.

Food: They didn’t have food or food trucks, but a lot of people had picked up pizza from the Domino’s around the corner.

Ambiance: Not just in an industrial park, but crammed into a narrow unit open to the parking lot.  There were a handful of seats, and a bunch of people hanging around outside (including some people smoking).  Definitely wouldn’t bring the kids here.

Waredaca

Newly opened this winter, this is the county’s first farm brewery.  They are out in the country north of Olney, and are expanding an existing horse farm.  It’s a bit of a drive, but at least it’s a pleasant country drive.  The tasting room is tucked behind another building, and a short walk from the parking lot (there’s a sign saying not to continue, but we think that means not to go into the horse pastures).

Beer: We really wanted to like their beers, but found them a little underwhelming.  We were even tepid on their saison, and we’ve rarely met a saison at least one of us didn’t like.  Their beer wasn’t bad, but it wasn’t worth the drive.  As with 7 Locks, we came right after they opened, so we’ll probably give them another shot to see how they’re coming along.

Food: They had a few snack options, including some local cheese and sausage plates.  They also had some craft sodas (though none of us actually liked those).  They aren’t planning anything else, though they’re fine with people bringing in outside food.

Ambiance: It’s out in the country on a horse farm, so it’s nice and rustic.  The tasting room was pretty small, but we did were able to get a table and share a snack with the kids while we shared a flight of their beers.  Much more kid-friendly than most breweries, and the kids might even look forward to going if there were horse riding lessons involved.
Stoutfest 2016

It’s a terrible First World Problem to have, but there are some really good beers that are just too intense to drink half of bottle of. For example, Russian Imperial Stout is a style we love, but even slowly sipping over the course of evening it’s usually too much – too much ABV, too much epic monolithic taste. So, bottles accrue. They multiply, even. It’s a terrible burden – what can beer geeks with a cellar full of beers like this do?  Luckily, we have friends who are willing to help out with this dilemma. If you’re splitting one of those bottles between six or more people, you’re getting a small pour like you’d get at a beer festival. And, even better, if your friends each bring a bottle or two, you wind up with your own little beer festival.

So, in the spirit of problem-solving and beer, we organized a small bottle-share last night with four friends, and we collectively put together an amazing lineup:

Hill Farmstead Nordic Saison 2014: This was the only lighter, more delicate beer and we thought it would suffer from comparison with the richer, bolder stouts, so we started with it first. (Wind: Plus, I’m a sucker for anything from my hometown region.) It was delightfully light, refreshing and citrusy.  This is a beer Wind and I agreed we could both definitely drink a whole glass of, and it was a great way to start off.

Pretty Things Fumapapa 2015: Unlike many smoked beers, this had a very gentle and smooth smoky character, that blended very well with the creamy stout. But, even still, it’s not something I’d want a whole glass of — but great to have a sample of, to give the smokiness a chance to shine, but not overstay its welcome. (Wind: I’m not usually a huge fan of smoked beers because brewers seem to think that if a little smoke is good then a ridiculous amount is better, but I really loved this. I agree, though, that a full glass would probably have been too much.)

Swamp Head Catherine’s Resentment 2014: A Habanero-infused stout that was painfully (Wind: undrinkably) hot when released, but had now mellowed somewhat. I’ve had a handful of chile beers that I really liked, but most of them are too much for more than a taste.  This is another beer that did very well with just a small sample, and even Wind enjoyed it. (Wind: In fact, I loved it – which surprised me a lot. I think we should age any such pepper-infused beers for at least two years in the future.)

Goose Island Bourbon County 2012 and 2013: The ’12 was much boozier and rougher than the ’13, but they were both luscious, chocolatey, and boozy.  These were 12 oz. bottles and the most balanced and drinkable stouts of the evening. (Wind: Okay, here’s the only place where Redbeard and I substantially disagree – to me, the 2012 was smooth and delightful, and the 2013, while still quite amazing, was boozier. I thought it would probably benefit from another year.)

Free Will Blood & Guts 2015: We took a break with this sour, which was muted by contrast.  It was not too tart, and had a good malty base. (Wind: This got a lot of “Whoa…  yeah… that’s sour!” from the group, with that tone of voice where you’re not quite sure if it’s a good thing or not. To me, this was an amazing sour – tart without that raisin-y flavor that sometimes creeps into sours, sour without making your mouth contract in self-defense. Really looking forward to trying more from Free Will.)

Cigar City Hunahpu 2015: This was very spicy, with cinnamon and chili providing a velvety complexity in addition to the booze and chocolate of the base imperial stout.  Wind and I had split a 750ml bottle of Hunahpu before, and it was overwhelming.  With a small pour, it was great to be able to savor the richness and complexity. (Wind: What he said.)

3 Floyds Dark Lord 2012: Completely different from Hunahpu, Dark Lord is a much smoother beer, with vanilla and coffee dominating.  This is a classic monster imperial stout, and I can’t imagine drinking a full glass of it. (Wind: Ditto. Amazing – so glad to have gotten to have some of this. Splitting the bottle provided the perfect amount.)

Kettle-Soured Saison

We’ve tried to brew sour beer before, but with little success.  Which is unfortunate, since sours are the main style we like that we can’t easily find in shops.  So we were excited to hear about some alternate methods for souring beers that don’t involve waiting for years for traditional barrel-souring to work its magic.  We read the Mad Fermentationist blog post about a faster souring process,  and then found a really good breakdown of the various souring options.

We decided to go with the sour-kettling technique, which boils down to taking a break between collecting wort and doing the boil to sour the wort with Lactobacillus.  We used the same recipe we usually use for our Saison Bruxellensis, and left the wort in the kettle (bundled up with towels to keep in as much of the heat as possible).

We added pure Lactobacillus culture from White Labs, and let it sour for a few days, watching the pellicle formation and checking the pH with color-change test strips.

This is where we hit our first complication: the pH strips were not nearly sensitive enough to reflect the small changes in pH we were seeing.  So we mostly relied on taste to monitor the souring process.  It was a little hard to judge the sourness, because the unfermented wort has a bunch of sugar in it.  We reasoned that the fermentation would convert the sugar and make it seem more sour, so we stopped when the sourness was noticeable but not dramatic.  As it turns out, the final beer was no more sour, so next time we might let it go a little longer.

We did the boil and fermentation as usual with both saison yeast and Brett Bruxellensis in primary.  The fermentation proceeded normally, the gravity stabilized, and we bottled with priming sugar as usual.  But I think we were too hasty in bottling, because when we opened the first bottle about a week later, it was badly over-carbonated.  Shortly after that, the caps began to swell.  We put as many of the bottles as we could fit in our kegerator, and luckily we haven’t had any bottles explode.

So, there are a few kinks to work out in the process, but overall it seems very manageable.  It does add a few days between the mash and the boil — though that’s probably not a bad thing, since it naturally splits the brew day, and each half fits into an evening instead of taking up an entire day of our weekend.

The final results are very nice, if we do say so ourselves.  A very drinkable sour saison, with a little body, a little funk, and a mild sourness.  It’s not gueuze, but it’s much better than our (basically non-existent) previous sour options.

Broap

We have made a couple batches of soap, but we weren’t very happy with the hardness.  They were mostly olive oil and rapidly dissolved unless you took great care to keep them dry.  So in practice they were always slimy, and someone being careless in the shower could dissolve away half a bar.

For our third batch of soap, we thought we’d try something different.  We’d seen many recipes that included lard or tallow for hardness, and although we thought that was a little gross, it seemed worth trying.  As it turns out, we’d been saving our bacon grease, but didn’t really have any use for it, so we had two mason jars full sitting under the sink.  So we melted those down, boiled the lard with water for a few hours, and then let it cool in a larger container in the fridge to make it easier to scoop out for making soap.

The other recipe change I wanted to try was using beer as the liquid instead of water.  This was partly because my mother-in-law sent me a link to a blog post that said it improved the soap.  Though I admit it was more for novelty’s sake, since as soon as we realized that we were making soap with the primary ingredients being bacon grease and beer, we started calling it bro soap, or broap.


We put together the recipe using SoapCalc:

  • 190 g beer
  • 69.65 g lye
  • 350 g lard
  • 75 g olive oil
  • 75 g coconut oil
  • 10 ml tea tree essential oil

And made the soap using a basic crockpot hot-process soap technique, with some slight modifications for the beer:

  • Drink about 1½ cans of beer, because you only need about half a can for the small batch of soap.  Keep the remaining half can in a jar and shake it thoroughly to make it completely flat.  n.b., it won’t ever stop foaming, because of the proteins in the beer, so just shake it up and then open the lid to relieve the pressure.
  • Carefully measure the lye in your dedicated lye measuring container.  I won’t belabor the safety precautions, but suffice it to say that lye is massively exothermic when combined with liquid, and is also the main ingredient in Drano, so wear gloves and goggles, mix in a well-ventilated area in a heatproof container, etc.
  • Slowly add the lye to the beer and stir until dissolved.  The lye beer will be just about boiling, and releasing toxic fumes, so let it sit until it cools down a bit.
  • Measure the lard, olive and coconut oils into a crockpot and heat on low until they are all melted.
  • Slowly pour the lye beer into the oils and stir until combined.
  • Mix with a stick blender until the soap is thick and opaque.
  • Cook on low for 30-60 minutes, stirring occasionally, until the soap bubbles up over the entire surface.
  • Remove the crock from heat and mix in the tea tree oil.
  • Cut the tops off of two of cans of beer and spoon the hot soap into them.
  • Cover the can molds with waxed paper and allow to set for 24 hours.
  • Cut the cans away from the soap and slice the soap into discs.

So far, we’re liking the broap.  The bar is firm and lathers well.  It seems like a good balance of cleaning well without being overly drying.  It has a faintly meaty odor to it, but doesn’t leave me smelling meaty at all.

Micro Mashing

Following the procedure in this excellent blog post, we did six micro mash test batches for a porter or double mild we’ve been thinking about brewing. We’ve been talking about brewing a porter for months now, but haven’t been able to agree on a recipe. Wind likes dry and roasty, Esme likes sweet and smooth. But there are also some outliers like Esme liking dark mild, but Wind doesn’t. When we have a porter or stout, it almost always turns out that one of us really likes it, the other doesn’t like it nearly as much.

We’ve experimented with multiple batches for trying different yeasts before, but didn’t have a process for trying different grain bills. So it was nice to find this process, which scales down a batch to quart size and then mashes and boils in mason jars. We made a few changes, with mixed results:

  • Instead of using malt extract, we did an all-grain mash because we wanted to test the difference between mild and pale ale base malts. We scaled our recipes down to 11.5 oz. of grain, which almost filled the mason jar, and were able to fit about 18 oz. of water. This worked reasonably well, but the mash efficiency was only about 45-50%, compared to the 70-80% we usually see with our usual mash process (Igloo cooler and fly sparging). So we would recommend doing a separate, larger scale mash to test different base grains (or accepting 50% efficiency and boiling down for higher gravity).
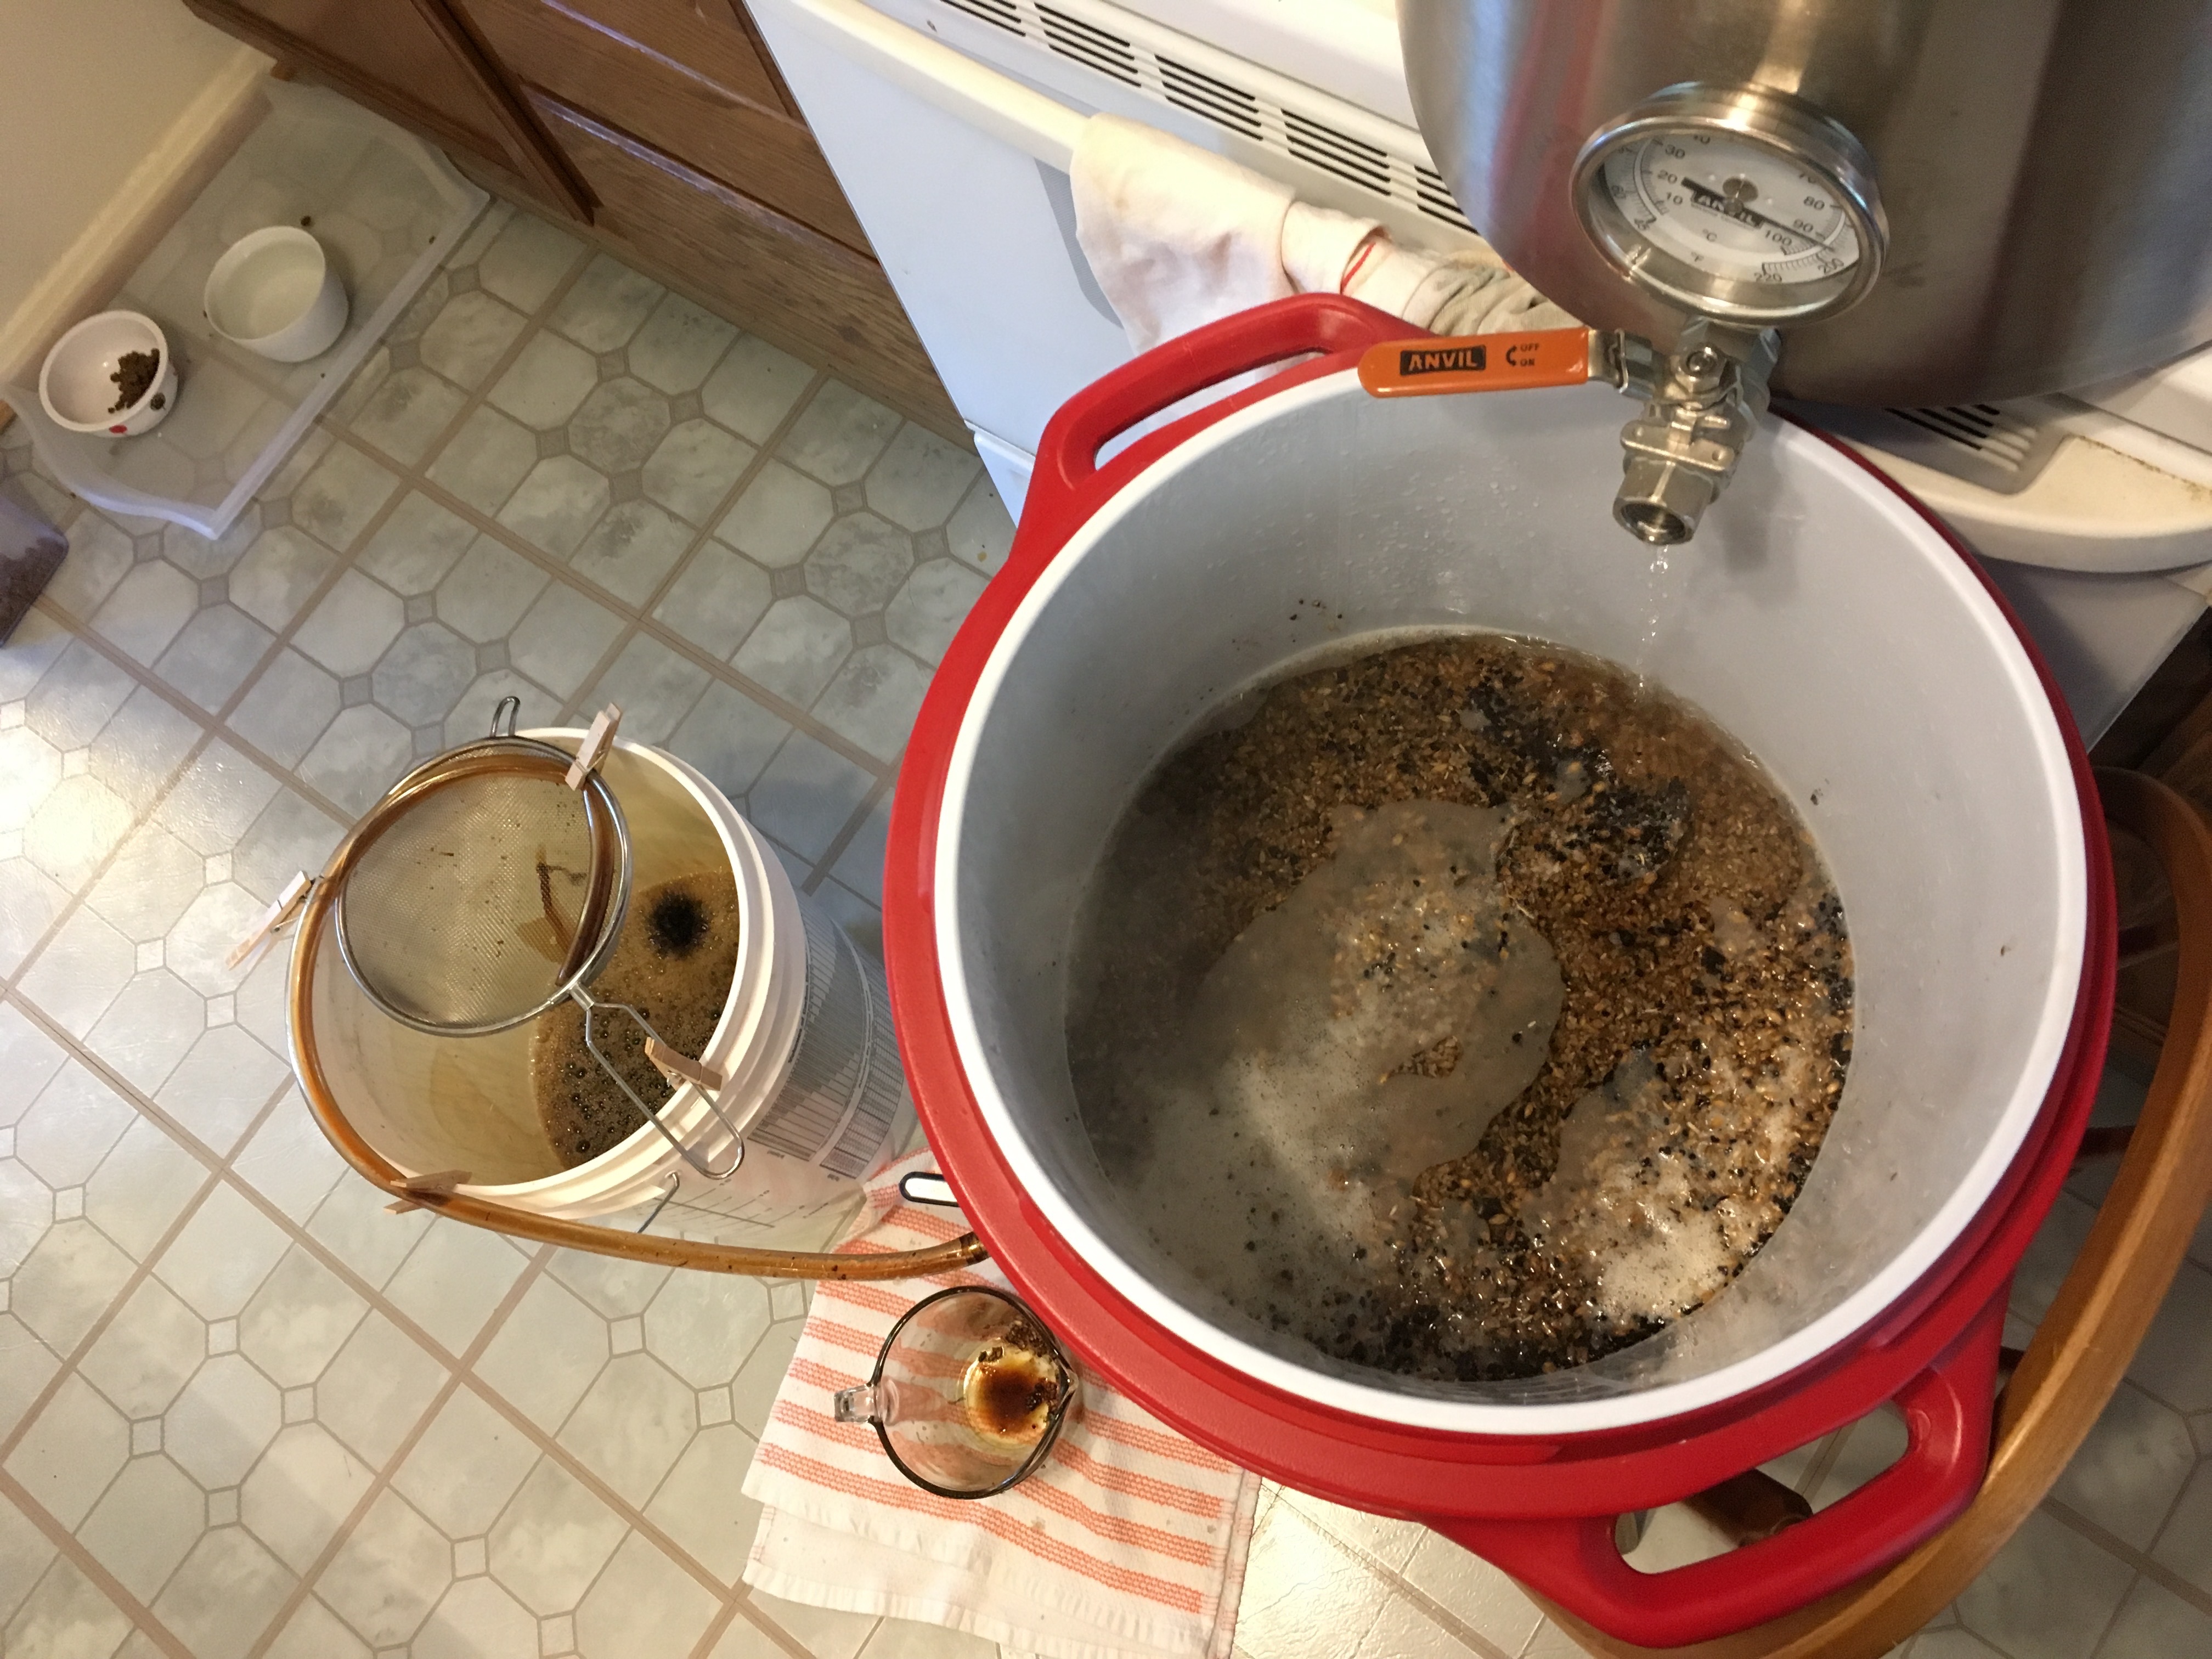
  • Because we were using more grain, a small strainer wouldn’t be big enough. So we used a pasta strainer lined with mesh bags (usually used as hop sacks). This worked very well, and gave us room to sparge the grains. We used the same setup post-boil to filter out the hop detritus.
  • We tried to do the boil in our usual kettle, using a canning rack to hold the mason jars. This seemed better than microwaving, since we’d be able to see them while boiling, easily add hops at the right times, etc. But the mason jars didn’t boil — an hour after the water bath started boiling, they were still slowly converging on 200°F. So we pulled them out and microwaved them, which worked fine.

This is a good process for trying out different grain bills, especially different specialty grains over a base malt you can get in powdered or syrup form. We’re looking forward to figuring out a grain bill we both like and brewing a full batch soon.