Tag Archives: chocolate

Colonial Stout

Since it’s been a very hot and muggy summer, we were talking about what we’d like to brew for later in the year when it cools off.  We were fondly remembering the imperial stout we brewed last year, but recognizing that even on a chilly fall evening, we weren’t often in the mood for a 10% beer.

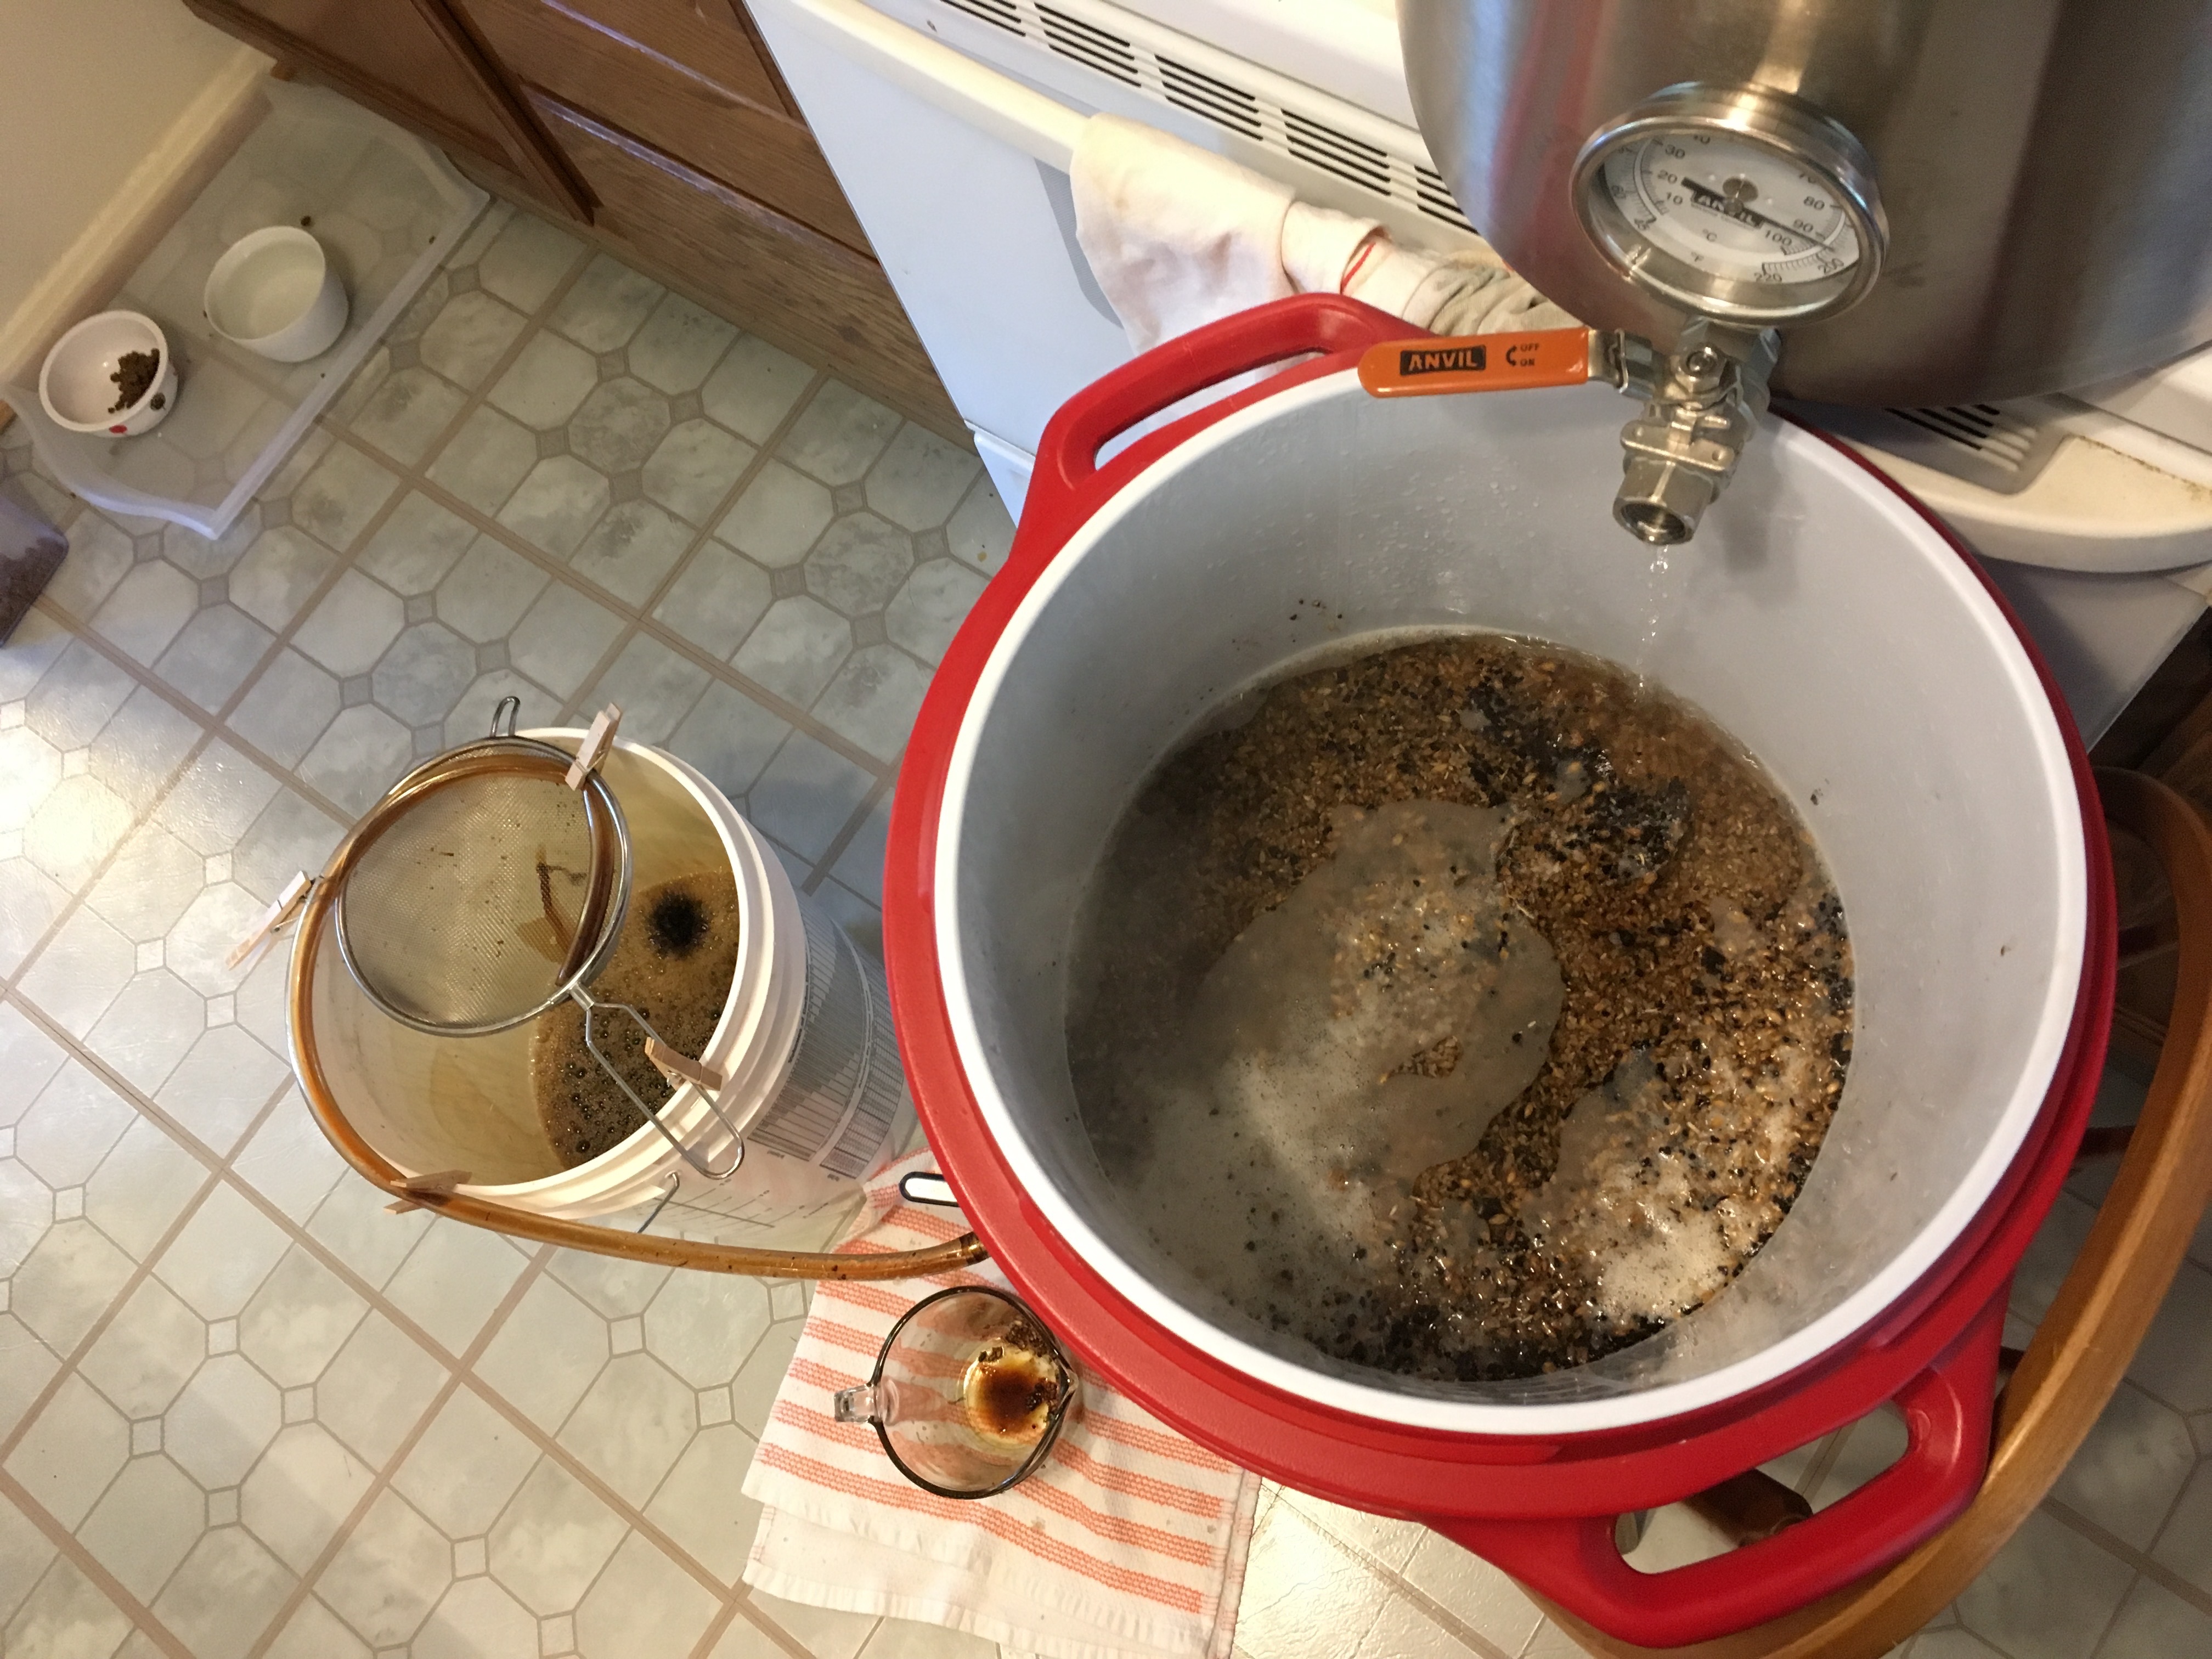
So we thought we’d scale it down a bit, to something more approachable like 6%, but keep the same ratios of grains — a mix of maris otter, mild, chocolate, crystal, special B, etc. that we’re calling Colonial Stout.  It’s in the fermenting bucket now, and cacao nibs are infusing in vodka to be added next week.

Praline Truffles

Praline:

1 cup hazelnuts (or mixture of nuts)
½ cup sugar
2 Tbsp. water

  • Bake hazelnuts in a single layer 10-15 minutes at 350°F.
  • Wrap in kitchen towel and rest for 1 minute.
  • Rub hazelnuts in towel to remove loose skins (don’t worry about skins that don’t come off) and cool completely.
  • Combine sugar and water in saucepan and cook over medium heat until it is clear amber and the edges start to foam, about 5 minutes.
  • Remove from heat, add hazelnuts, and pour onto parchment-lined baking sheet and allow to cool completely, about 20 minutes.
  • Break up and process in process in food processor until paste.

Filling:

4 oz. hazelnut praline
3 oz. milk chocolate
1 oz. semisweet chocolate

  • Microwave chocolate 30 sec. at a time, stirring between each heating until melted.
  • Combine with hazelnut praline, mix thoroughly, and chill.

Truffles:

2 oz. milk chocolate
2 oz. semisweet chocolate

  • Microwave 2 oz. of milk chocolate and 1 oz. of semisweet chocolate 30 sec. at a time, stirring between each heating, until smooth and shiny.
  • Add remaining chocolate and stir until smooth.
  • Cut filling into even sized pieces, coat with tempered chocolate, and place on parchment-lined baking sheet and chill.
  • Allow to harden for a few minutes and serve at room temperature.

Depression-Era Vegan Chocolate Cake

1½ cups flour
¹/3 cup cocoa
1 tsp. baking soda
1 cup sugar
½ tsp. salt
5 Tbsp. vegetable oil
1 cup water
1½ tsp. vanilla
1 Tbsp. cider or white vinegar

  • Mix dry ingredients.
  • In a separate bowl, whisk wet ingredients.
  • Combine and whisk until smooth.
  • Tap mixing bowl or drop from 6 inches to shake out air bubbles.
  • Bake at 350°F for 25-30 minutes, until toothpick comes out clean.
  • Cool before removing from pan.
  • Dust with powdered sugar or frost as desired.

Source: http://food52.com/blog/8614-margaret-fox-s-amazon-chocolate-cake

Recent Homebrews

We haven’t been blogging, but we have been brewing (and knitting, and sewing, and making soap, and….).

Batch #25 was our first stout, clocking in at 9.5%.  We used a variety of dark malts (crystal, chocolate, “Special B”, smoked, and roasted barley) to get rich flavor we like in stouts, but avoided the darkest malts (like black patent) and only small amounts of some of the darker malts to avoid too much bitterness.  We also had a pound of cacao nibs that we picked up at Lake Champlain Chocolates last summer, which we wanted to infuse.  After some research and dithering (because there are a billion variations on how homebrewers brew with chocolate), we decided to soak them in vodka for a few days and pour the chocolate liquor into the fermentor for second fermentation.

The initial fermentation was explosive.  Fermentation started almost immediately, and fouled the airlock in less than an hour.  I’m glad I put it in the bathtub overnight, because it made a mess in there, blowing the airlock completely out of the neck of the fermentor.  But it quickly settled down.  And the end result is really good — a rich, velvety stout with tons of flavor, but very little bitterness.

Batch #26 was our first wild beer.  We picked up some apples at the farmers market near us, and I’d read that yeast cultured from apple skins was generally good for brewing beer (or cider, obviously).  So I skinned the apple and put the skins in a moderately-strong wort (which had some crystal malt to encourage yeast that could handle that).  It took a few days to begin fermenting, but I was then able to step it up like a normal starter, and then save the yeast for later.

Later turned out to be a few months later, when I brewed with a friend.  I brought the yeast, and he had some malt extract and a big bag of frozen mixed berries.  So we mashed and pasteurized the berries, and added the slurry to the extract wort at the end of the boil, and pitched the wild yeast as soon as it cooled off.

At first, we thought the wild yeast had failed to start, because there was no bubbling activity.  But when we checked it after a week, fermentation was done (and much more efficient than we expected for wild yeast).  The result is like a very dry saison, with some tannin from the berries, and a little fruitiness.

Both of these have been fun to drink, and well-received when we’ve shared them.  So it’s encouraging us to try some new things.

Chocolate Ginger Crackle Cookies

So, somewhat off-topic, but in the public interest (plus I’ve got nothing on the knitting or beer front to report)…

I started making these cookies in 1997, when I was a graduate student. They have been a solid hit with almost everyone: People who like cookies, people who don’t like cookies, people who think they are too old for cookies, children, people who think they don’t like ginger, ginger-fantatics… Plus, these cookies are consistently good enough that the obligatory “taste” cookie is really just pro-forma.

Anyway, so as I baked a batch tonight for game night (yay, game night!), I realized that I should share. The recipe is at the bottom.

First, let me say that these cookies are sweetish and a little spicy, and they go pretty well with wine (which explains why I found the recipe in Wine and Food originally).  I can’t remember what the recipe used to look like – I suspect that I have probably simplified it a lot over the years, and I know that I will adjust the amount of ginger, depending on my audience. Also, be warned – our local grocery store today informed us that candied ginger is a “seasonal” item. Seriously? In this whole “globalized” market place, we still think that anything can’t be sold any time, anywhere?

Anyway… these are refrigerator cookies and the prep always reminds me a little of peanut butter cookies and snickerdoodles. Be prepared to wait at least 2 hours between when you mix up the batter (dough? eh, never can keep those straight) and when it is ready – and then be prepared to get your hands all chocolatified as you form the dough/batter into balls.

Ingredients (makes ~24 cookies)

1c sugar
6 Tbsp butter, melted
2 eggs
1/4 cup + 2 Tbsp unsweetened cocoa powder
1 tsp vanilla extract
1 cup flour
1 tsp baking powder
pinch salt
1/2 cup semi-sweet chocolate chips
1/3 cup candied ginger, minced
1/3 cup confectioner’s sugar

Instructions

1. Beat sugar with butter, then add eggs, cocoa and vanilla until smooth and creamy

2. Add flour, baking powder and salt (you can just dump it all in together) and mix until blended (about 2 minutes with an electric mixer)

3. Stir in chocolate chips and ginger

4. Cover and refrigerate overnight (yeah, right) or at least two hours

5. Preheat the oven to 350F

6. Lightly grease your cookie sheets if they are prone to things sticking to them

7. Form dough into 1″ balls and then coat generously with the confectioner’s sugar

8. Place on the the cookie sheet with a little room to expand (about 1″ apart should be good)

9. Bake 10-12 minutes, tops should be crinkly.

Note #1: Don’t over bake! These things are just like peanut butter cookies: If they look done in the oven then they are over-done. I’ve even taken these out when they looked a tiny bit wet in the cracks, and they were fine.

Note #2: I let the cookies rest for about 30 seconds or so on the cookie sheet before I move them off to a cooling rack.

Note #3: I hope you enjoy them as much as we do!